Table of contents
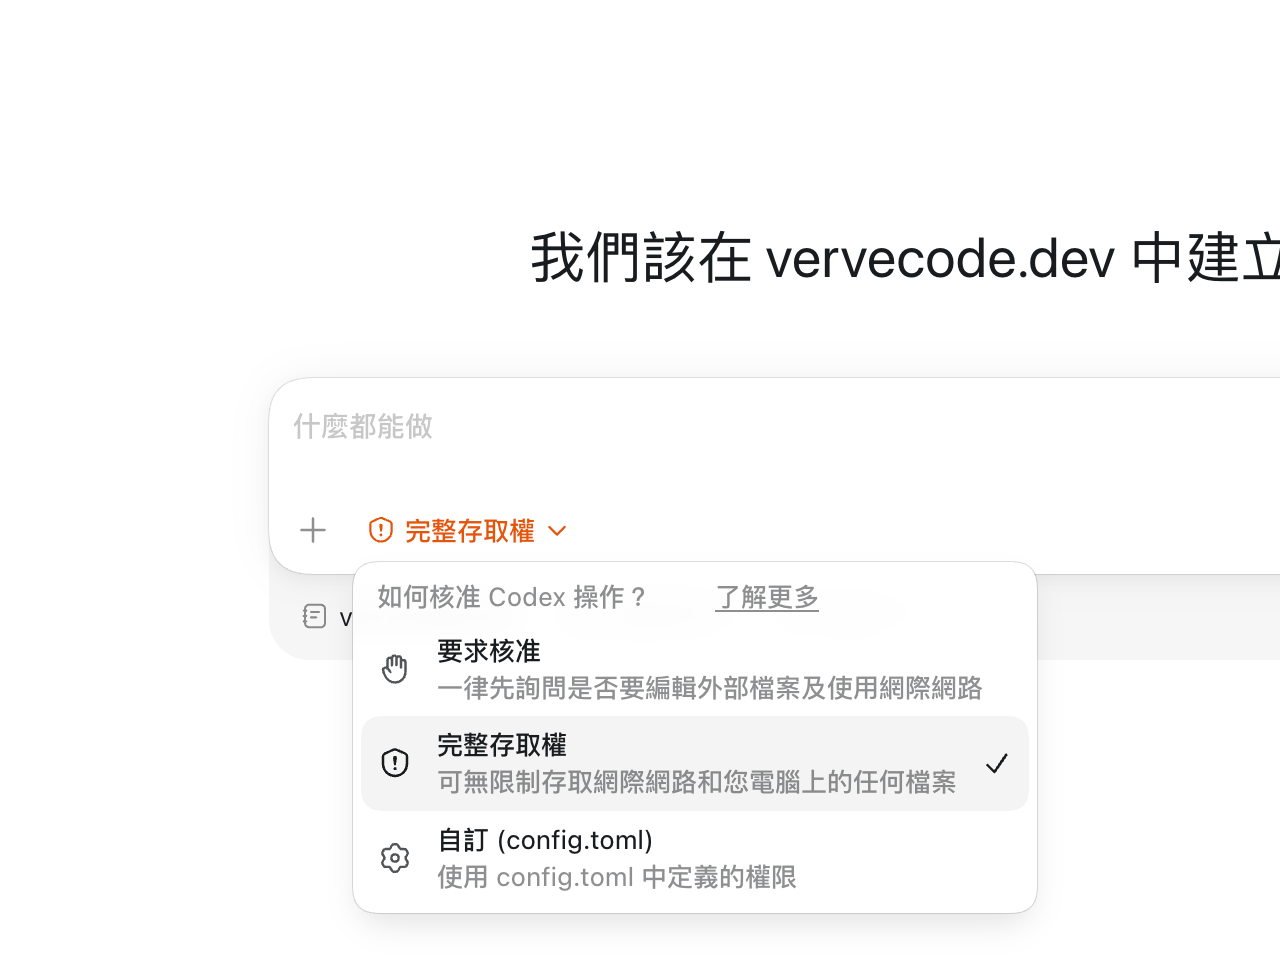
When you put Codex in a dev container and turn on Full Access so it can run commands directly, what it can affect is limited to the container and the project mounted into it. It cannot see files outside the container, so even a wrong command cannot delete system files on your C: drive or other projects on your computer. The mounted project can still be damaged, and you recover it with Git.
A dev container uses a Docker container as the development environment. VS Code connects into the container through the Dev Containers extension to write code, and IntelliJ has a similar feature.
This article covers VS Code, Docker Desktop, and an Ubuntu dev container. The steps follow the VS Code Dev Containers documentation. On Windows, WSL2 and Docker Desktop must start normally first. On macOS, make sure Docker Desktop is running before you create the container.
The screenshots in this article were taken with VS Code in Traditional Chinese. Each step gives the English name of the item to look for, so you can find it in an English interface.
Install the container tools
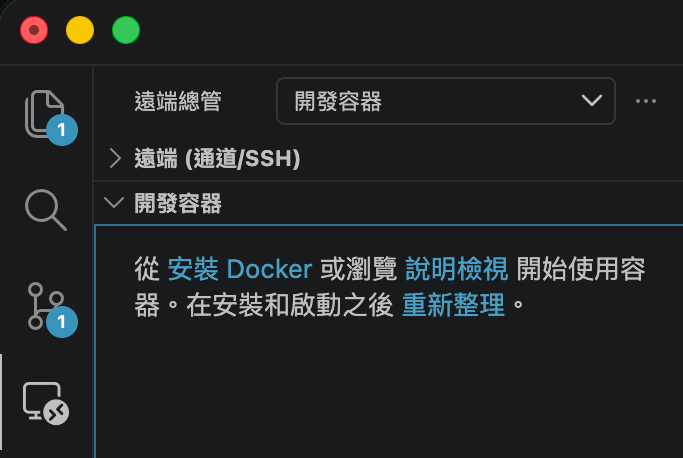
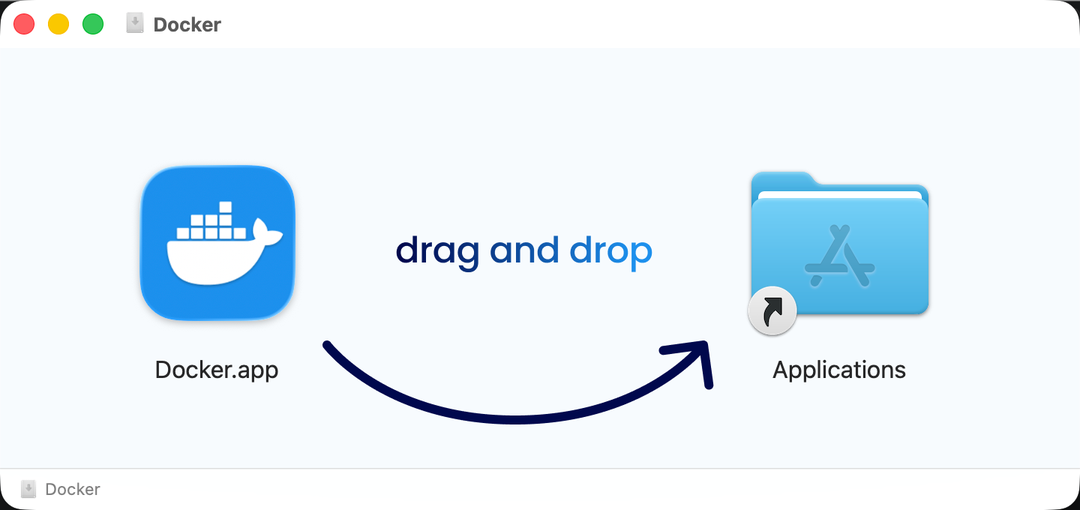
In VS Code, install Dev Containers and Remote Explorer. Then, in the Dev Containers section of the Remote Explorer on the left, click “Install Docker”, and VS Code downloads and installs Docker Desktop for you.
Create the dev container
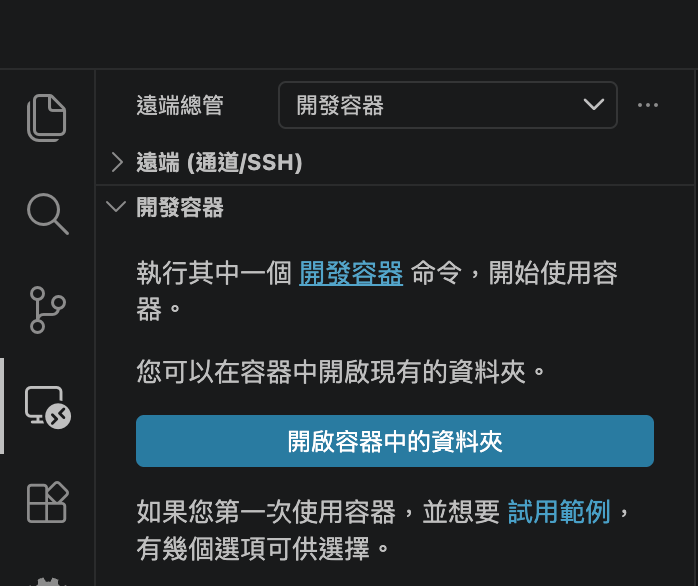
You can try this with an existing project or a new one. In the Dev Containers section of the Remote Explorer, click “Open Folder in Container” and choose the project folder.
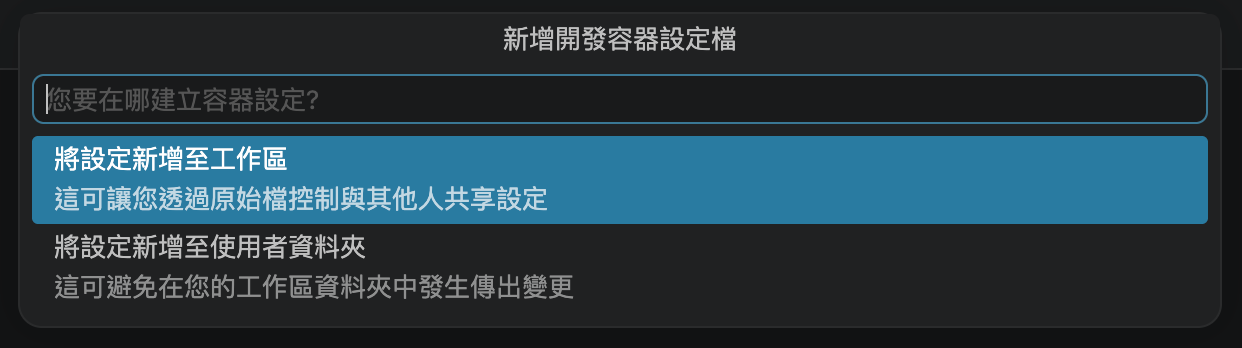
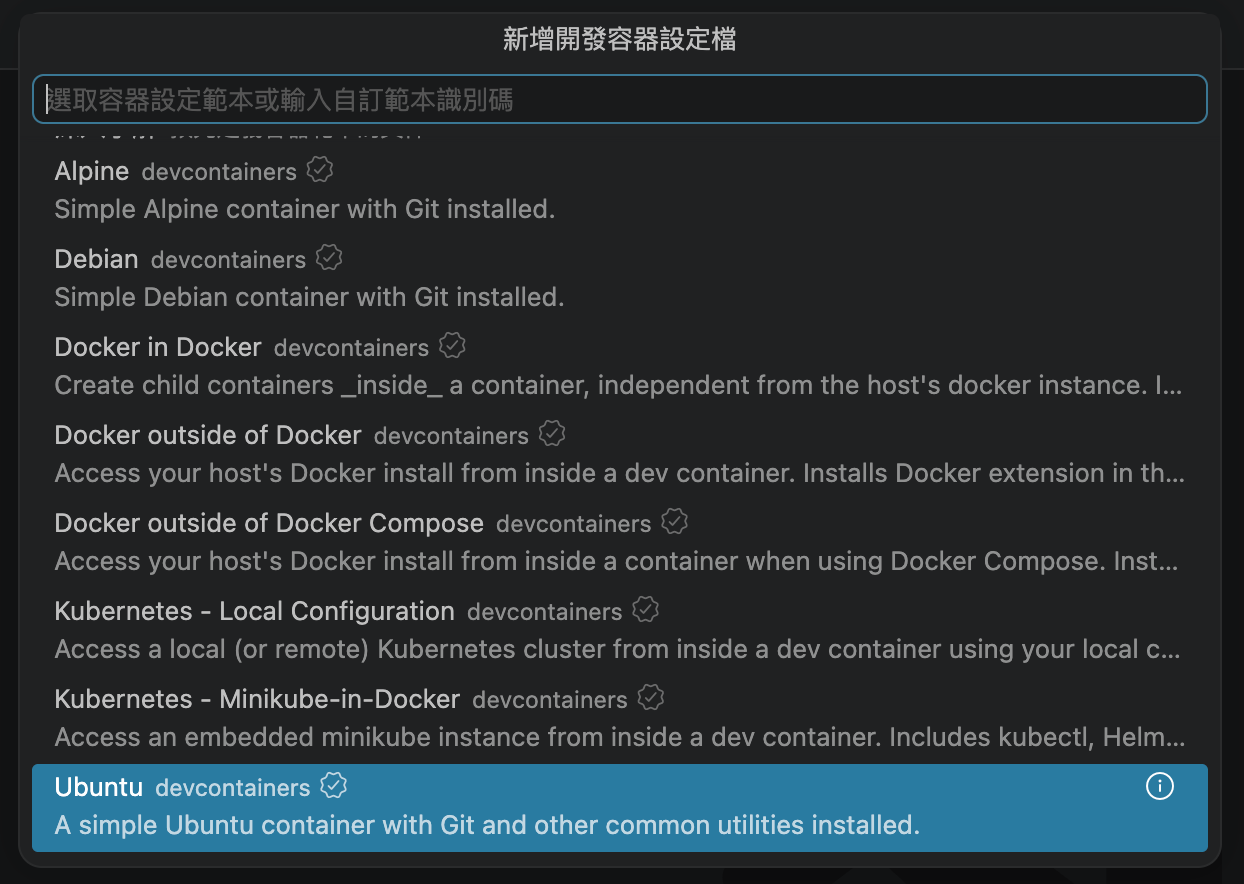
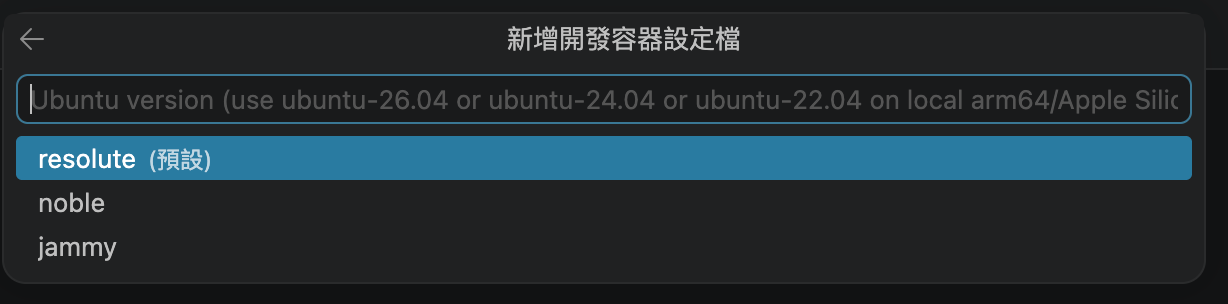
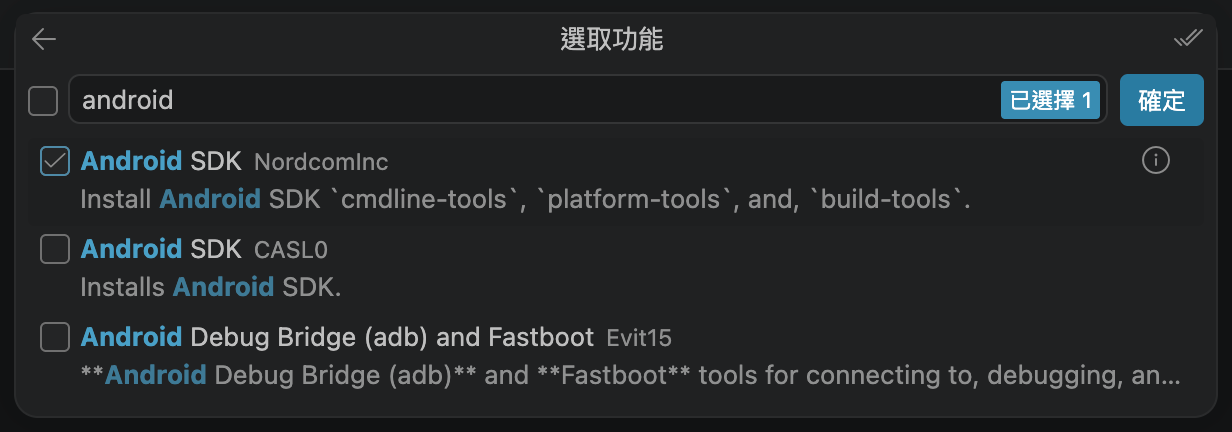
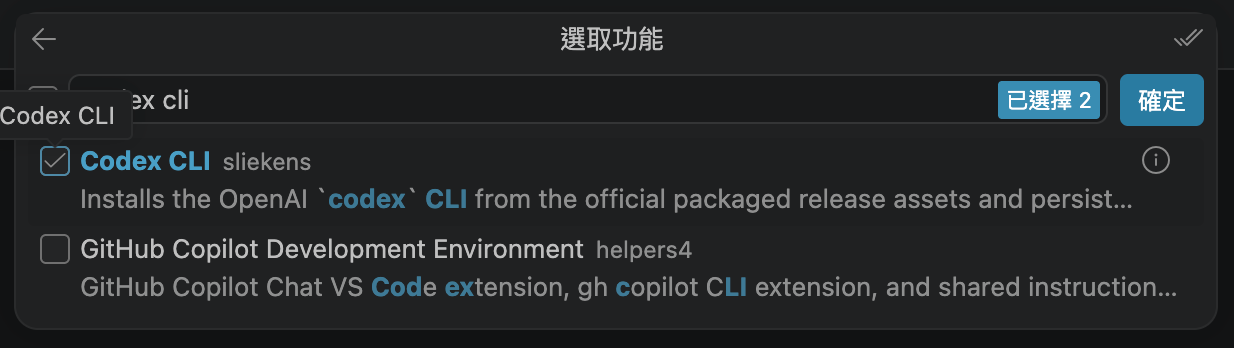
Set the tool versions in the container
After the container is built, VS Code connects to the dev container automatically. An Android project requires every component’s version to match the project settings, so you set the versions yourself.
The Android SDK feature you just chose has two version fields, platform and build_tools. Edit .devcontainer/devcontainer.json and add the version settings under android-sdk.
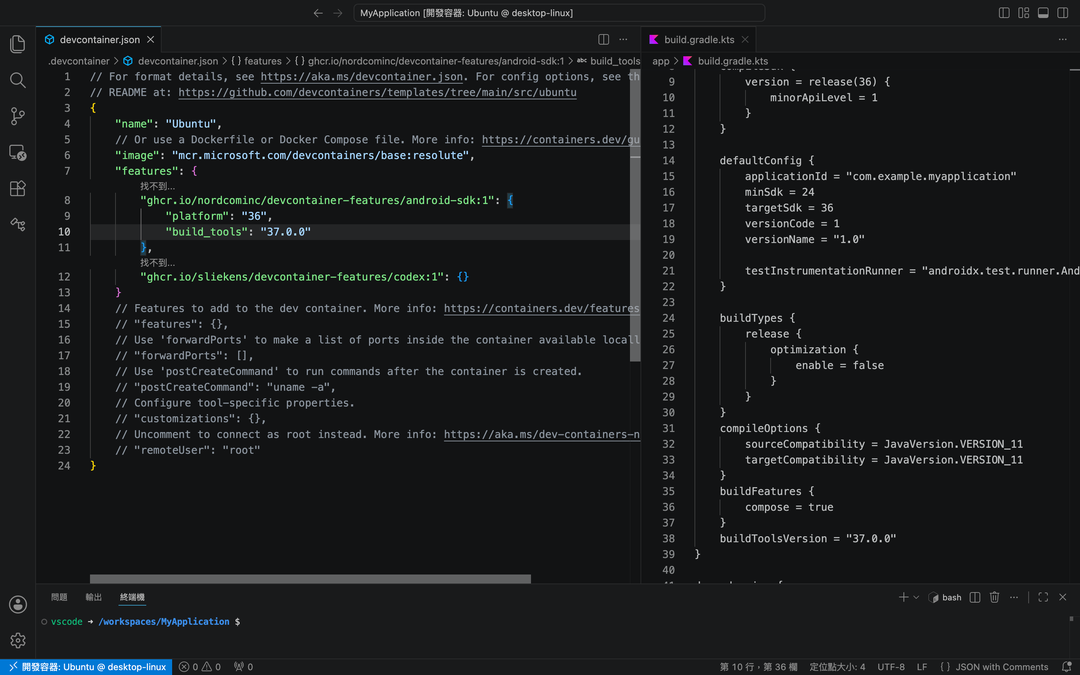
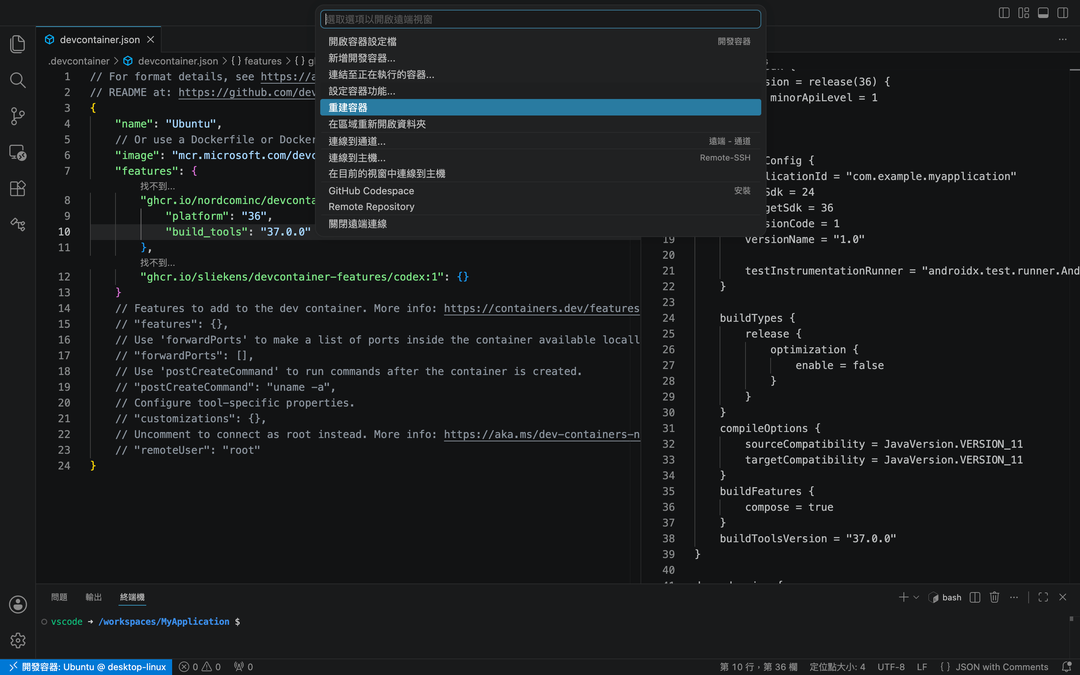
Sign in to Codex CLI
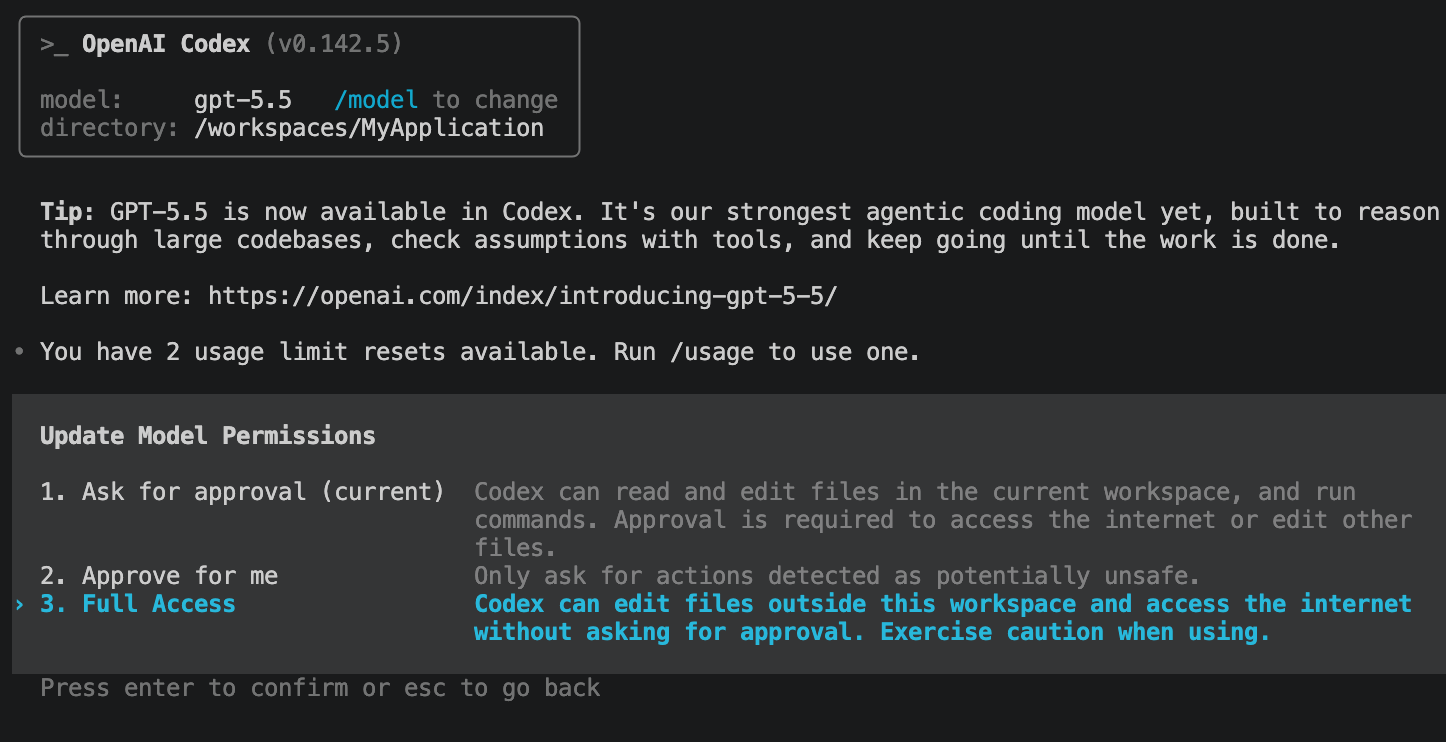
When the environment is ready, type codex in VS Code’s terminal to start Codex CLI and sign in.
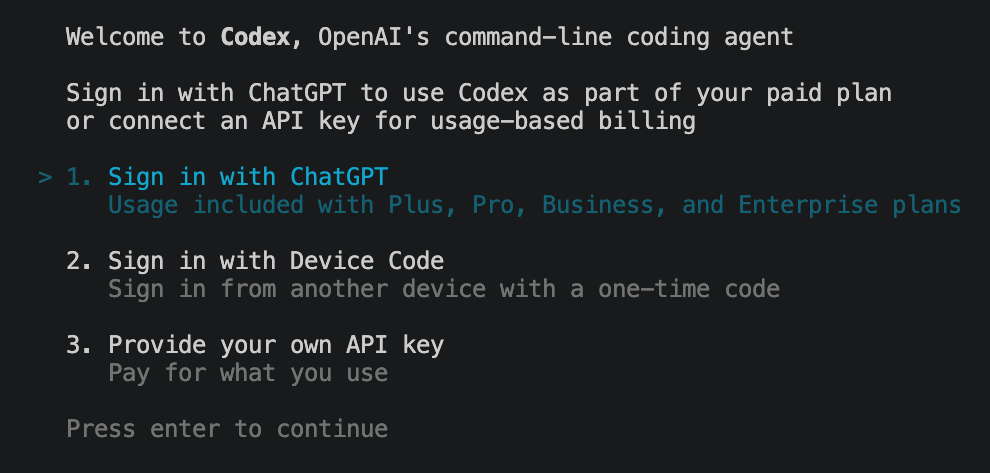
/permissions and change the permission to Full Access. Codex can then run commands directly without asking at every step.
Check that the container works
The bottom left of VS Code should show the dev container you are connected to. Run cat /etc/os-release in the terminal to see the Ubuntu version you chose, and type codex to enter the signed-in session. For an Android project, run your existing build once more and confirm that platform and build_tools meet the project’s requirements. A container that starts does not mean the toolchain is fully installed.
What Full Access can reach
With Full Access inside the container, Codex can read and write only the container itself and the folders mounted into it. Your Windows or macOS system files, other projects, and personal data are not in the container, so Codex cannot delete them.
The mounted project folder maps directly to the same files on your computer. Code that Codex deletes or breaks is changed in the project on your computer too. If you also mount credentials, the Docker socket, or other directories, Codex can access those as well. According to VS Code’s documentation, Dev Containers by default also brings your local SSH agent and Git configuration into the container, so Codex can push to remote repositories with them.
The .git folder is also inside the mounted project and Codex can change it too, and uncommitted changes have no backup. What lets you recover from damage is the version you already committed and pushed to the remote.
When the build fails, and going back to local
If a change to .devcontainer/devcontainer.json does not take effect, first run “Dev Containers: Rebuild Container”. Packages you install by hand inside the container disappear after a rebuild, so put the tools you want to keep in a feature, the Dockerfile, or postCreateCommand.
If the container fails to build, look at the failing step in “Dev Containers: Show Container Log”, then choose “Open Folder Locally” to go back to your machine and fix the configuration. If you stop using the dev container, open the project locally and delete the .devcontainer folder. Your project code has stayed on your computer all along and does not disappear with the container.
Summary
Codex is my main tool, and its permission management is changing quickly. The current version is hard to use, and giving it full permissions directly is not safe. With Full Access inside a dev container, the impact is limited to the mounted project, and if something breaks, I recover from the version pushed to the remote with Git.