Table of contents
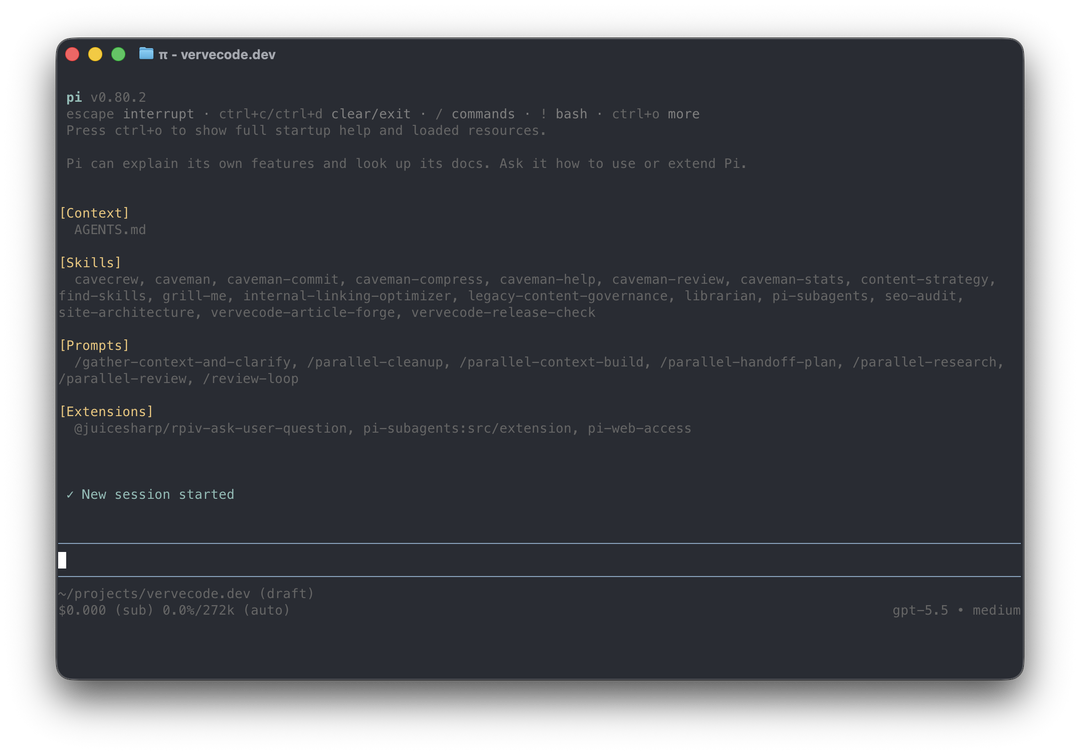
The biggest difference between Pi coding agent and tools like Claude Code, Codex, and OpenCode is that Pi enables only four tools by default: read, edit, write, and bash. Its system prompt is short, and it has no subagents. When you need anything else, you mostly add it by installing extensions.
Compared with Claude Code and Codex, Pi gives you full control over your development tools. The price is that you lose the system prompt, tools, and surrounding services that a model vendor has tuned. One Zhihu article (in Chinese) estimates that Pi uses 30 to 35% of the tokens Claude Code does, but that estimate covers non-development tasks, so how much you save when developing depends on project size, how complex the requirements are, and your prompts.
You need an npm environment with Node.js 22.19 or later. Installation and configuration follow the Pi documentation. Pi does not ask before it runs commands or changes files, and every tool runs with the current user’s permissions. The official security notes recommend using it inside a container or virtual machine, and putting an agent in a dev container shows one way to do that. Extensions run third-party code, and project-level extensions and settings load only after the project is trusted.
Install and update
Pi runs on Windows, macOS, and Linux, in any terminal. I use it in an environment that can run Bash whenever I can, because AI agents often get PowerShell syntax wrong on Windows, and the back-and-forth wastes time.
Install Pi globally with npm. Open a terminal and enter:
1npm install -g --ignore-scripts @earendil-works/pi-coding-agent
When it finishes, open a terminal in your project folder and type pi to start the agent:
1pi
To update Pi and its extensions, use these commands:
1# Update Pi itself
2pi update
3
4# Update all extensions only
5pi update --extensions
6
7# Update Pi itself and all extensions
8pi update --all
Install extensions
Without extensions, when the agent lacks a tool it writes code to fill the gap, which burns even more tokens. These are the extensions I always install for software development.
Web search
A must-have. It lets the agent look things up online by itself. It works as soon as it is installed, and you can also add the API for your own Exa, Brave, or other service in ~/.pi/agent/web-search.json. See the pi-web-access documentation.
1pi install npm:pi-web-access
Option prompts
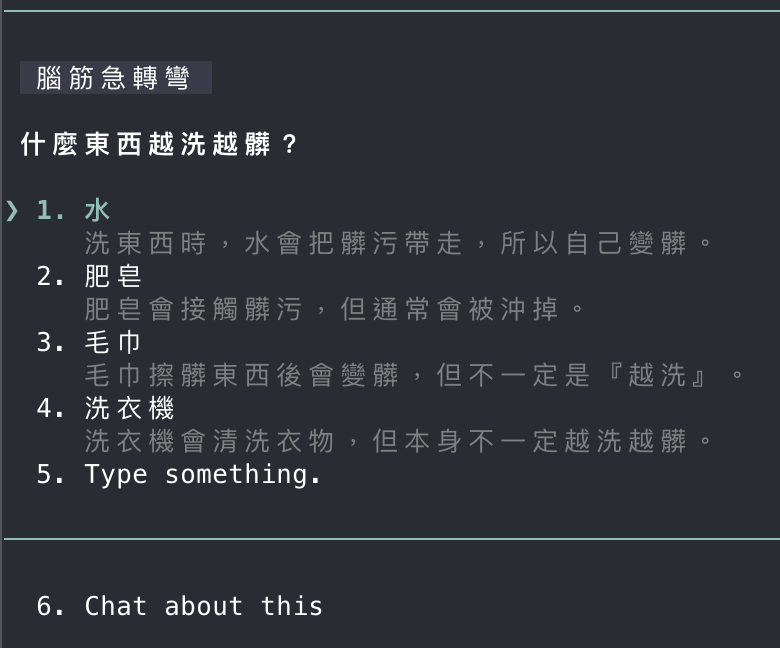
A must-have. When the agent asks you a question, you can pick an answer with the arrow keys instead of typing it every time.
1pi install npm:@juicesharp/rpiv-ask-user-question
Once the extension is active, the agent lists options when it asks a question:
Subagents
A must-have. It lets the agent hand exploration and implementation to subagents, so the main conversation’s context is not filled with the exploration process. You can set which model each subagent uses by role in the pi-subagents model settings.
1pi install npm:pi-subagents
MCP
Optional. Set it up when you need MCP servers such as Unity MCP or Serena MCP. Pi has built-in MCP support, so you do not need a separate extension. Add a server with pi mcp add and check the connection with pi mcp list. Skills or a CLI can now replace many MCP servers, so I do not list it as a must-have.
1pi mcp add <server name> -- <command> [arguments]
2pi mcp list
Sign in with a Codex subscription
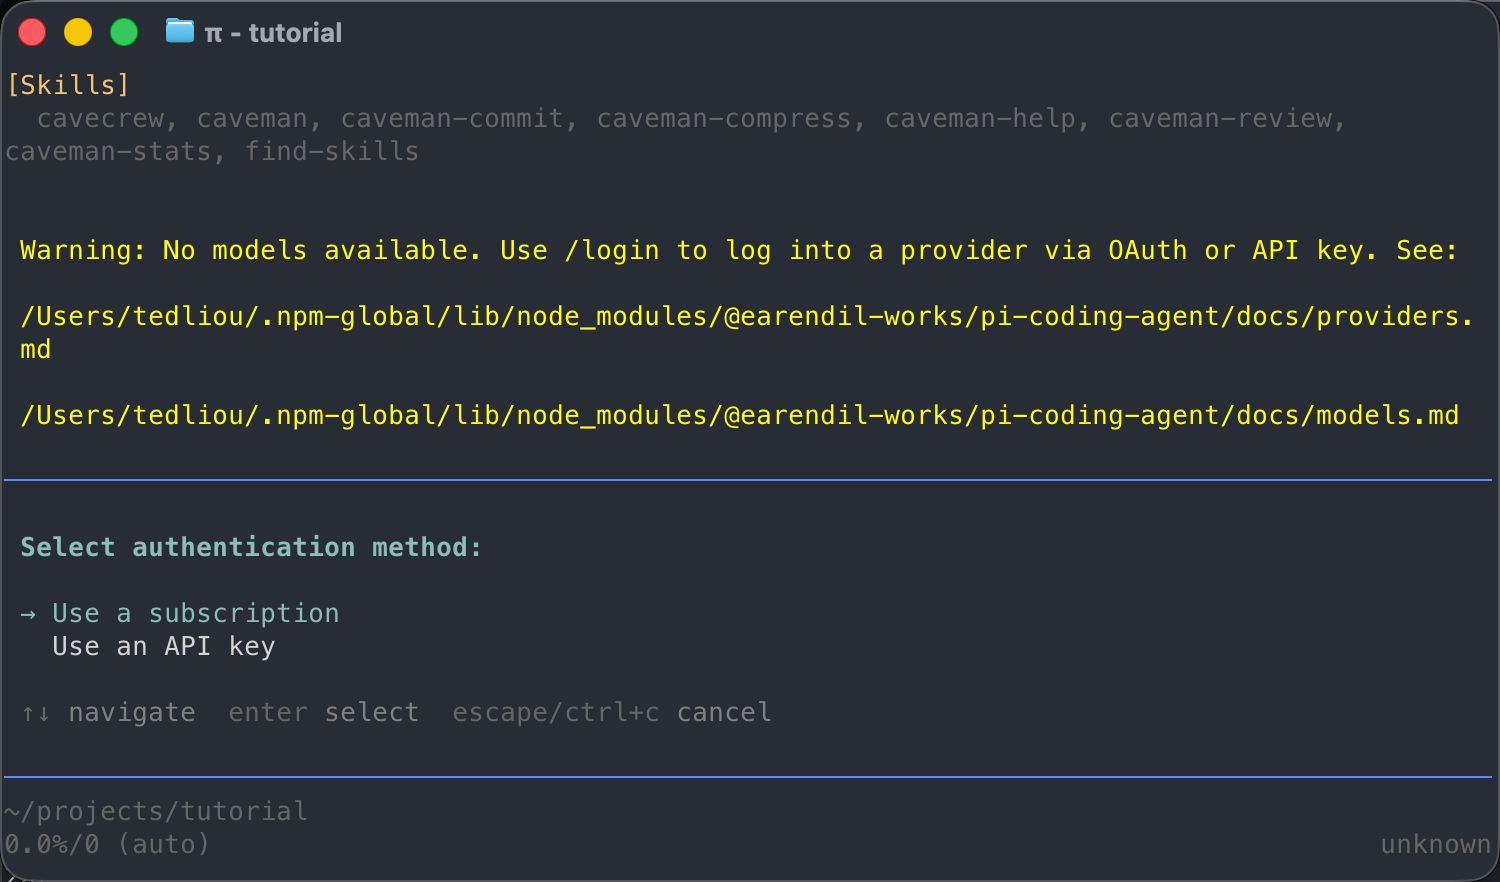
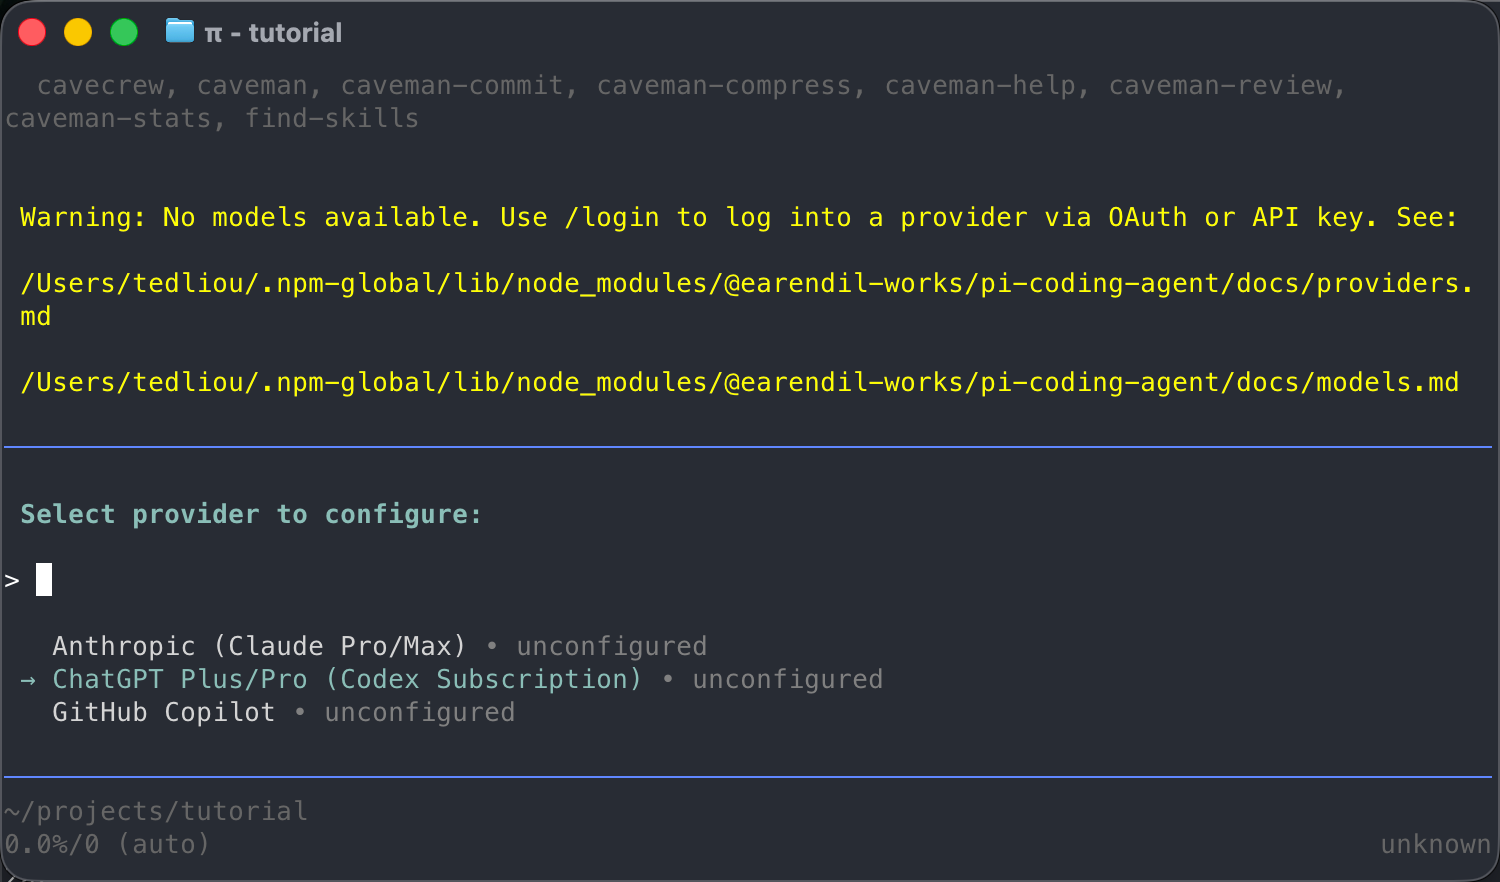
Pi has built-in subscription sign-in for Claude, Codex, and GitHub Copilot, and you can also use an API key. For the full list, see the model providers list in the documentation.
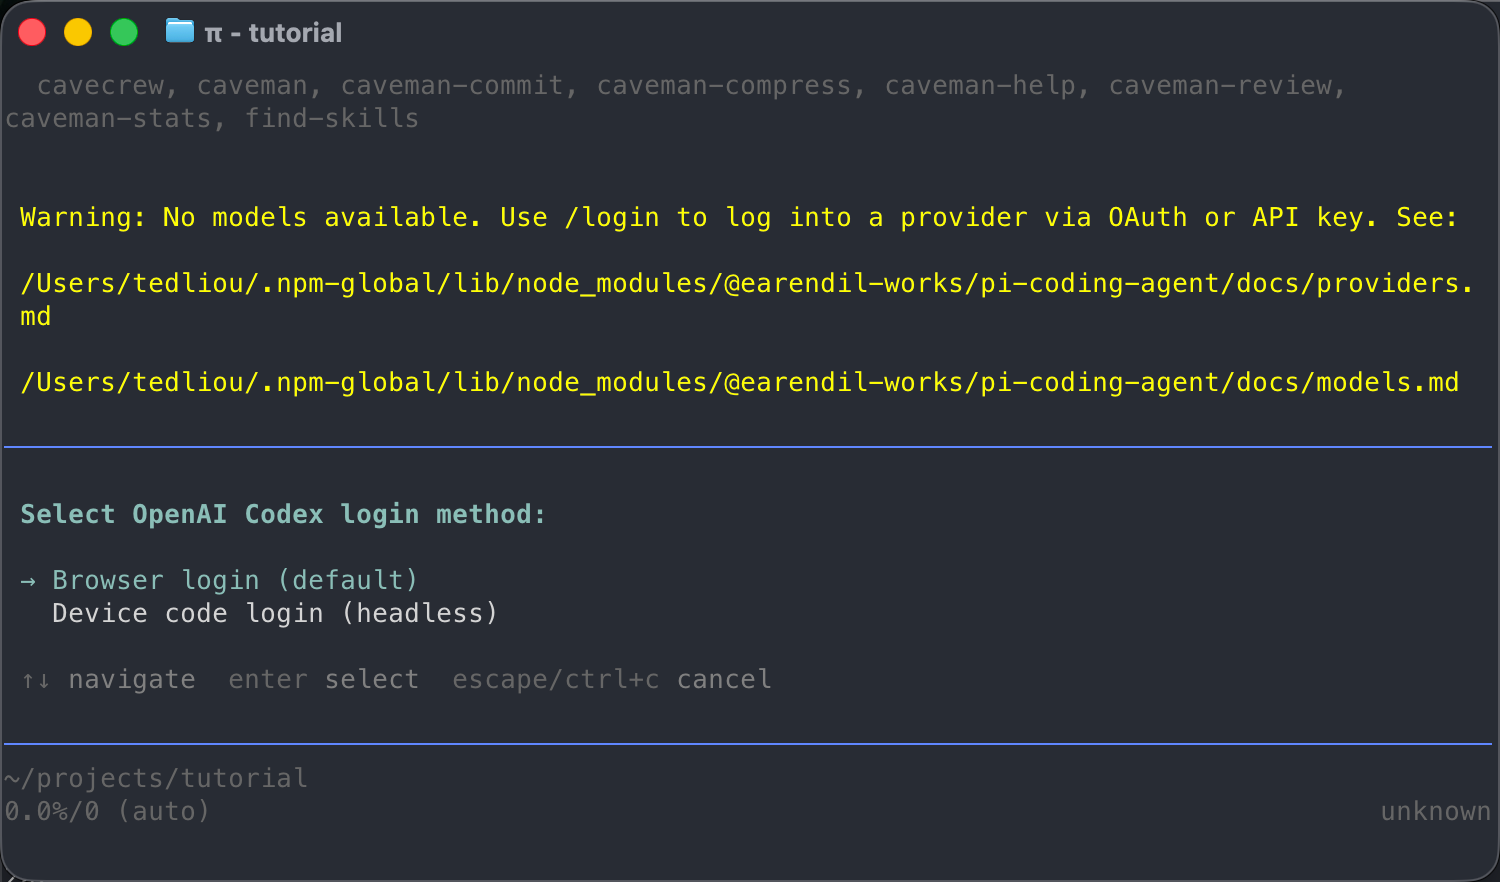
In Pi, run:
1/login
Choose “Use a subscription”.
Basic operation
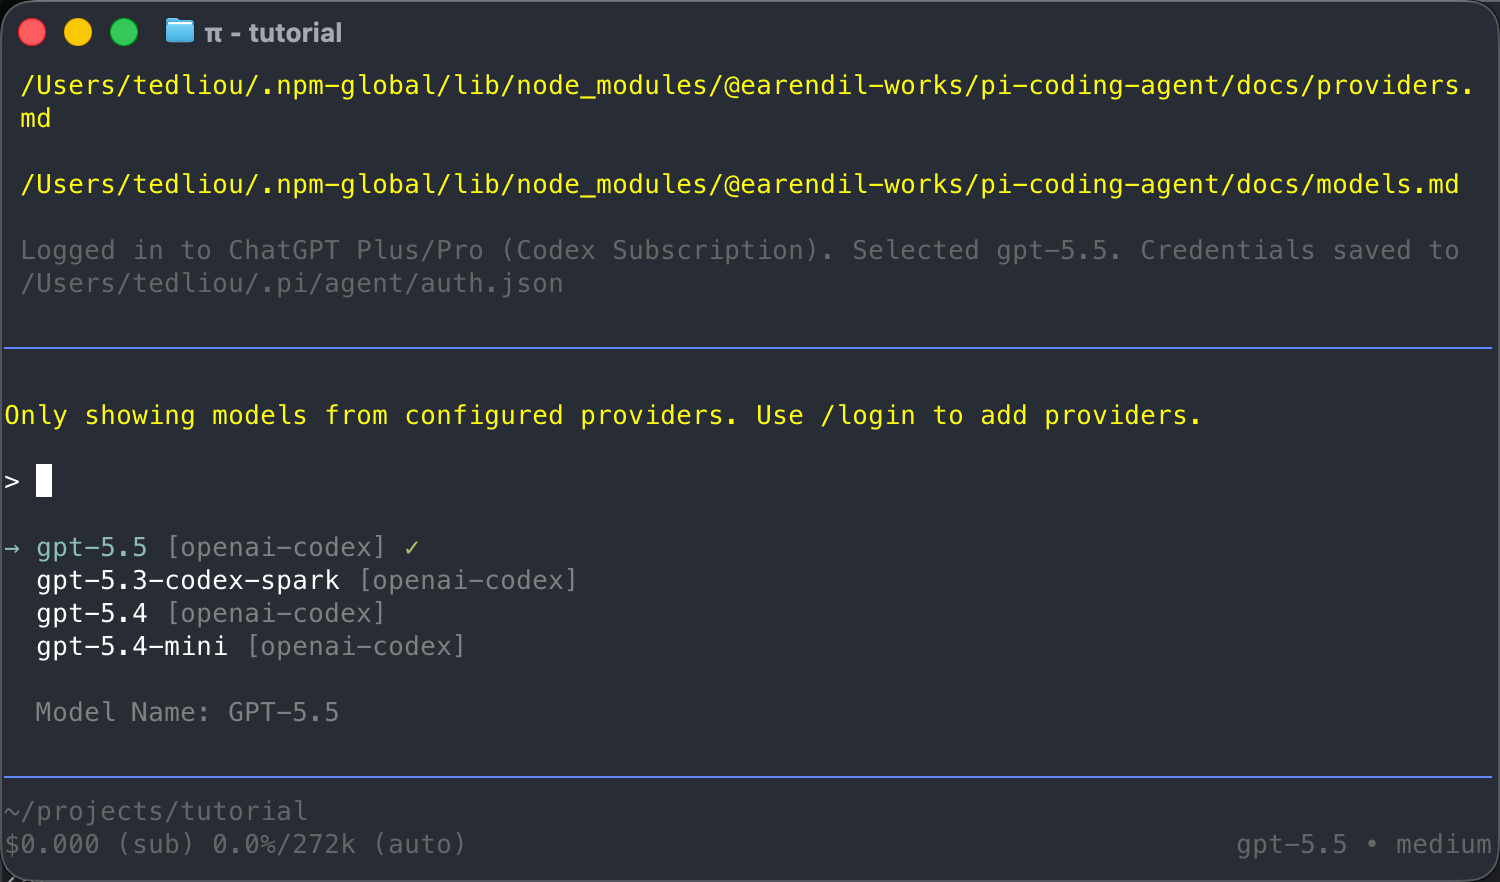
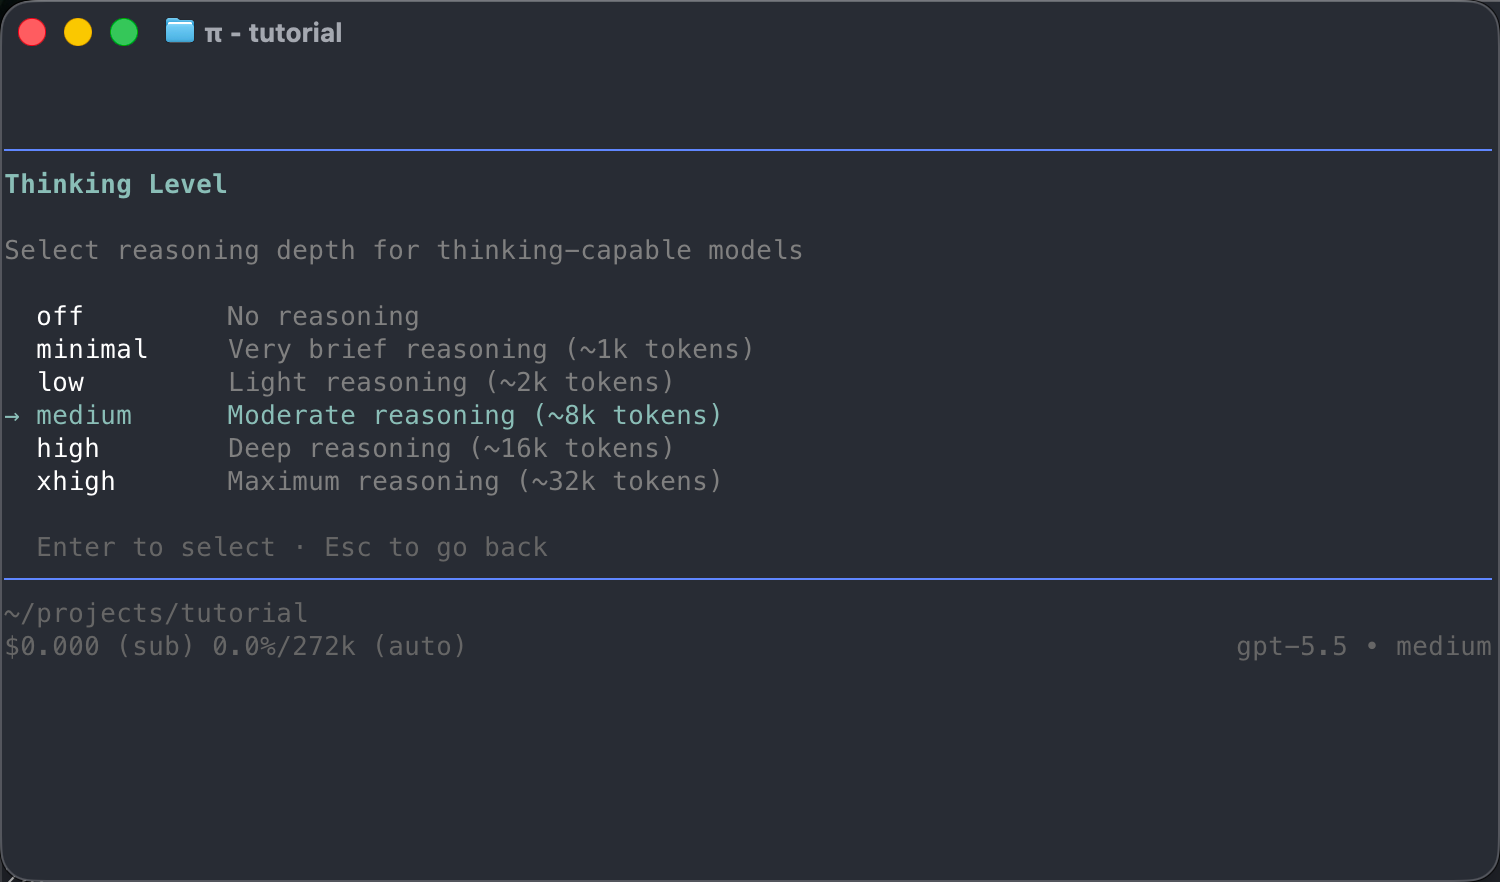
/model lets you choose a model, and pressing Ctrl + P repeatedly cycles through models directly.
Spread Codex usage across subagents
Pi can be signed in to several vendors’ subscriptions at once, and a subagent can be assigned a model from a different vendor. My company provides Cursor, so I use the pi-cursor extension to connect both my Cursor and Codex subscriptions in Pi. I plan with GPT-5.5 xhigh and implement with subagents running GPT-5.4 or Cursor’s Composer 2.5, depending on how complex the task is, so an expensive model plans and cheaper models implement. The work is split across two subscriptions, which makes the Codex usage limits, recently cut sharply, last longer.
Check that installation and sign-in worked
Running pi in your project folder should open the interactive interface. After /login, open /model. You should see the models provided by ChatGPT Plus/Pro (Codex), and sending a short question should get a reply. Only then is the sign-in complete. You can check extensions with pi list. For example, with the option prompt extension installed, the agent shows an arrow-key menu when it asks a question.
Troubleshooting
If the terminal cannot find pi, first confirm that npm’s global bin folder is on your PATH. If /login succeeds but the model list is wrong, sign in again or run pi update --models to refresh the model catalog. If an extension does not load, use pi list to confirm where it is installed. The documentation distinguishes user settings from project settings (added with -l), and if you install into one and look in the other, you will not see the extension.
To remove a single extension, use pi remove npm:<package name>. If you stop using Pi, remove it with the command below, and you do not need to delete the global package folder by hand:
1npm uninstall -g @earendil-works/pi-coding-agent
Summary
Pi enables only four tools by default, so install the web search, option prompt, and subagent extensions before you start developing. It can be signed in to several vendors’ subscriptions at once, and giving subagents models from other vendors spreads the load off your Codex subscription.