Table of contents
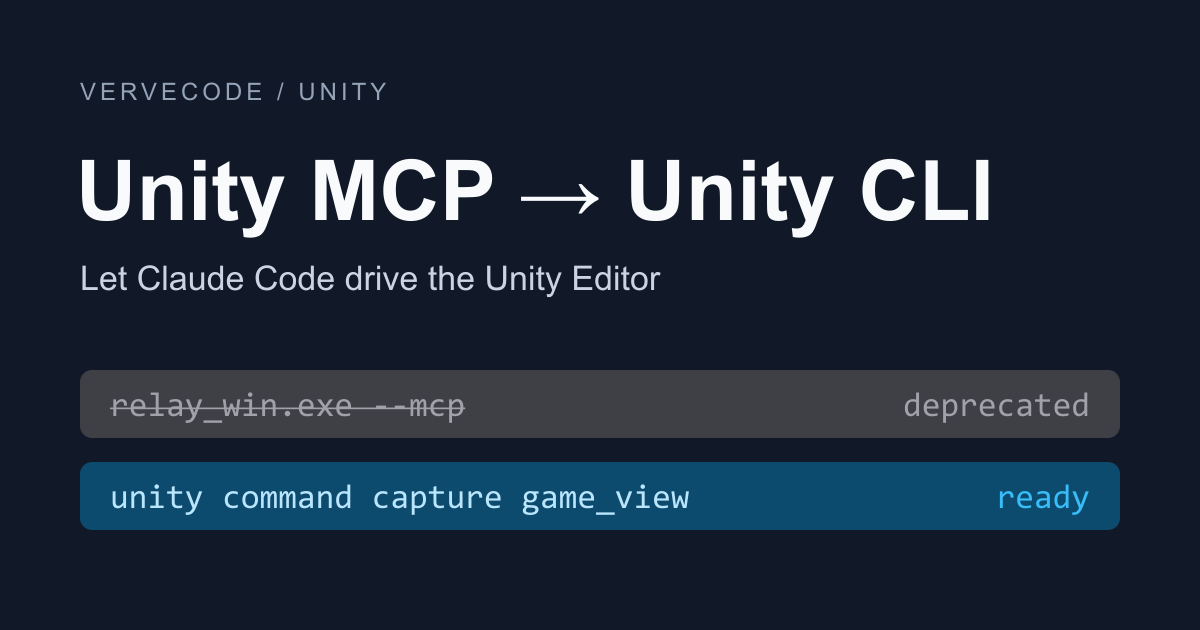
Unity’s AI Assistant package includes an MCP (Model Context Protocol) server. It lets an AI agent such as Claude Code work inside a running Unity Editor, where the agent can build a scene, change components, enter Play Mode, and take a screenshot to check the result. On November 6, 2026, Unity marked this MCP server as deprecated and replaced it with Unity CLI. Unity CLI is free and does not need a Unity AI subscription. MCP for Unity, a separate package maintained by the community, is not affected.
After I installed Unity’s official plugin for Claude Code, I described what I wanted in plain language: an orange cat that spins. Claude Code then created a scene in the open Unity Editor, built the cat from primitive shapes, wrote a rotation script, entered Play Mode, took a screenshot, and looked at it to confirm the cat was on screen before it reported back. The Editor stays open the whole time, so every object Claude Code creates shows up in the Hierarchy and you can take over at any point.
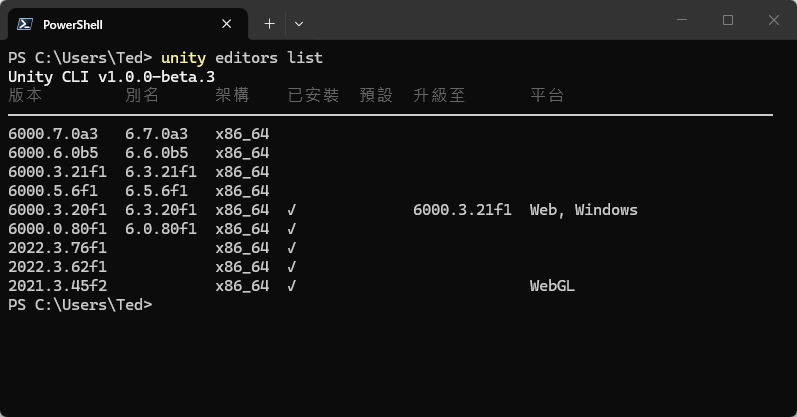
I tested on Windows 11 with Unity 6000.6.9f1, Unity CLI 1.0.0, MCP for Unity 10.3.0, and Claude Code 2.1.309 running the Sonnet model.
Choose a setup
Pick the setup that matches your situation:
| Situation | What to do |
|---|---|
| Claude Code is already connected to the AI Assistant package’s MCP | Remove the old entry and switch to Unity CLI |
| Your agent can run terminal commands, for example Claude Code | Use unity command |
| Your client can only call MCP tools and cannot run terminal commands | Use unity mcp |
| Your project is still on Unity 2021.3 or 2022.3 | Unity CLI needs Unity 6.0 or later to drive the Editor, so use MCP for Unity |
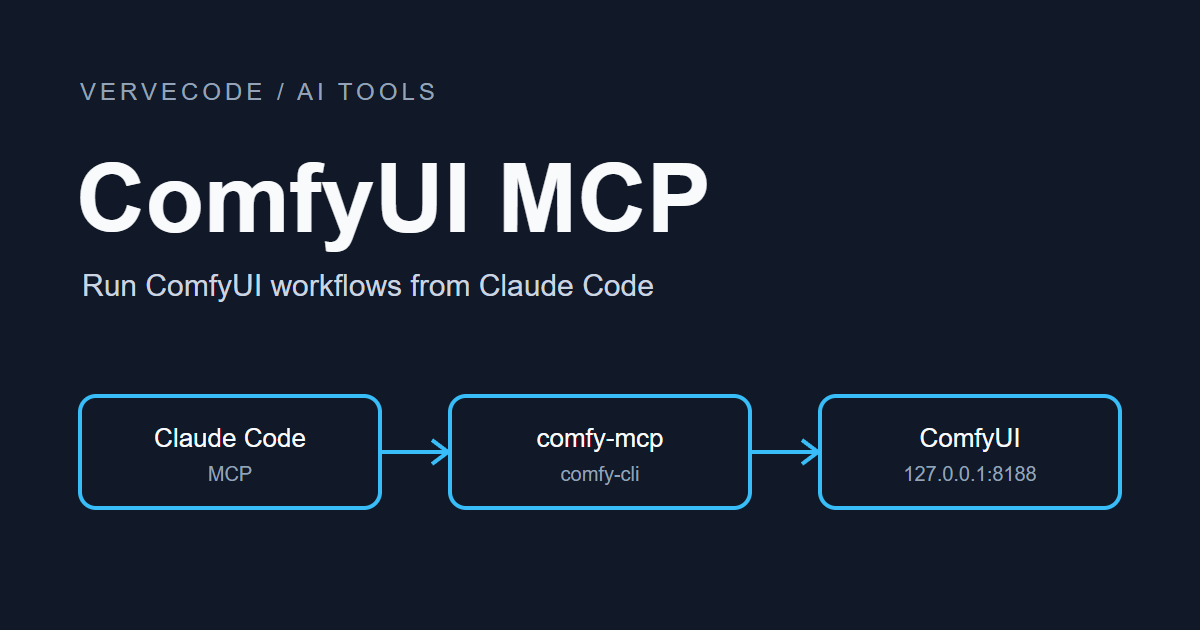
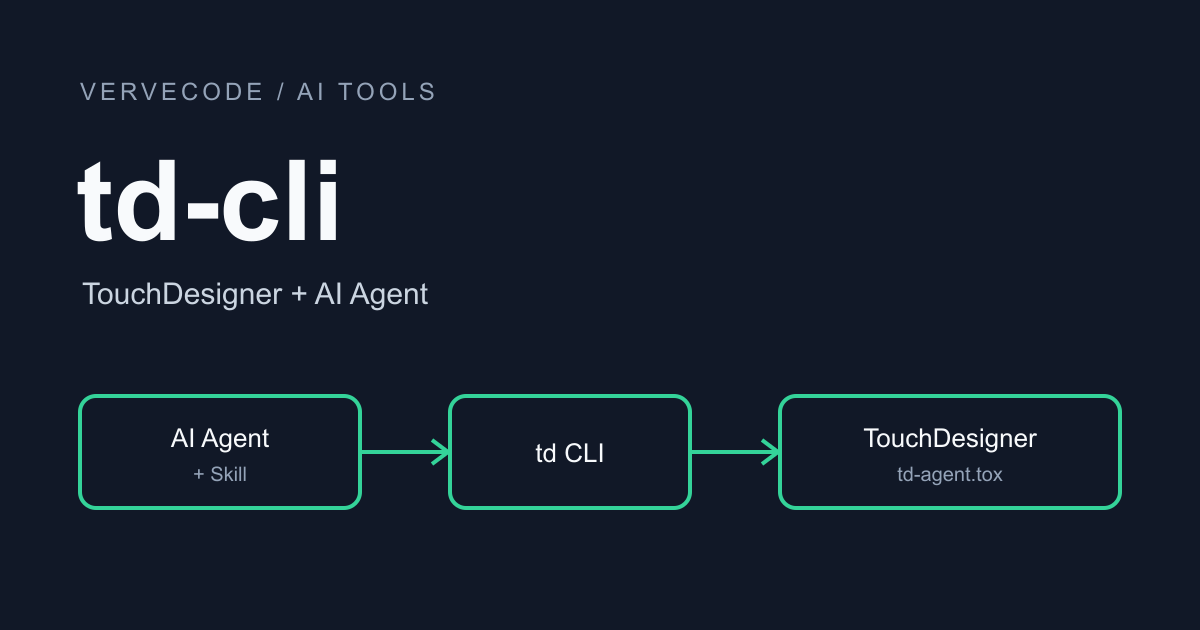
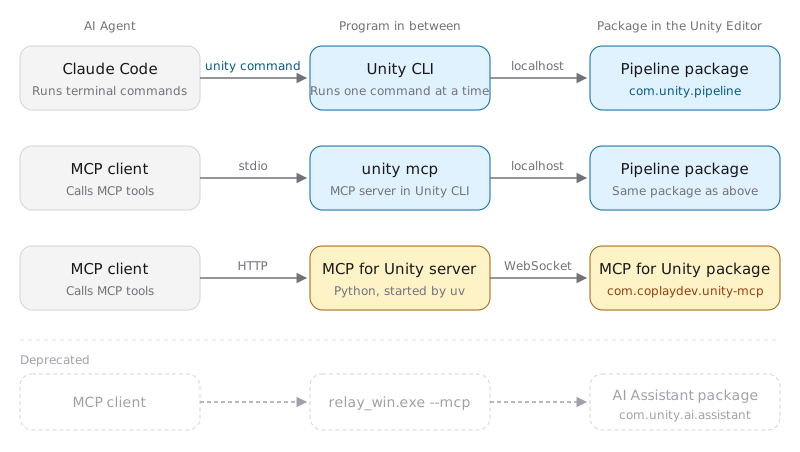
All three setups end at a package inside the Unity Editor: the Pipeline package for Unity CLI, or MCP for Unity’s own package. They differ in which program the agent’s requests pass through:
Remove the AI Assistant package’s MCP entry
If you used the AI Assistant package’s MCP, Claude Code’s MCP list has an entry that runs relay_win.exe --mcp. The name in Unity’s documentation is unity-mcp. Run claude mcp list in your project folder to find the entry, then remove it by name:
1claude mcp remove --scope user unity-mcp
If you added the entry to a single project, run the command in that project folder and change user to local. If it lives in the project’s .mcp.json, change it to project. unity mcp configure has a --replace-legacy option, but for Claude Code it only prints the removal command above and does not remove anything.
If you want to keep the package and the AI Assistant window in the Editor, update the package to 2.13 or later. Older versions conflict with Unity CLI.
Set up Unity CLI
To install Unity CLI and sign in, see the Unity CLI install guide. Open the project in Unity 6.0 or later and keep it on an NTFS drive. If the project sits on a ReFS Dev Drive, Unity CLI cannot reach the Editor. The symptom is listed under Troubleshooting.
Install the Pipeline package
Unity CLI drives the Editor through the Pipeline package inside it. For an existing project, install the package from the terminal first:
1unity pipeline install --project-path C:\UnityProjects\CatCli
Projects created with unity projects create already include the package, and the command reports alreadyInstalled as true.
Check that the Editor is connected
After the package is installed, open the project with unity open. When the Editor finishes loading, run unity status. A ready state means Unity CLI can drive this Editor. You can take a Game view screenshot yourself to confirm that unity command works:
1unity status --project-path C:\UnityProjects\CatCli
2unity command capture game_view --output-path Screenshots/cat.png
A relative screenshot path starts from the project folder:
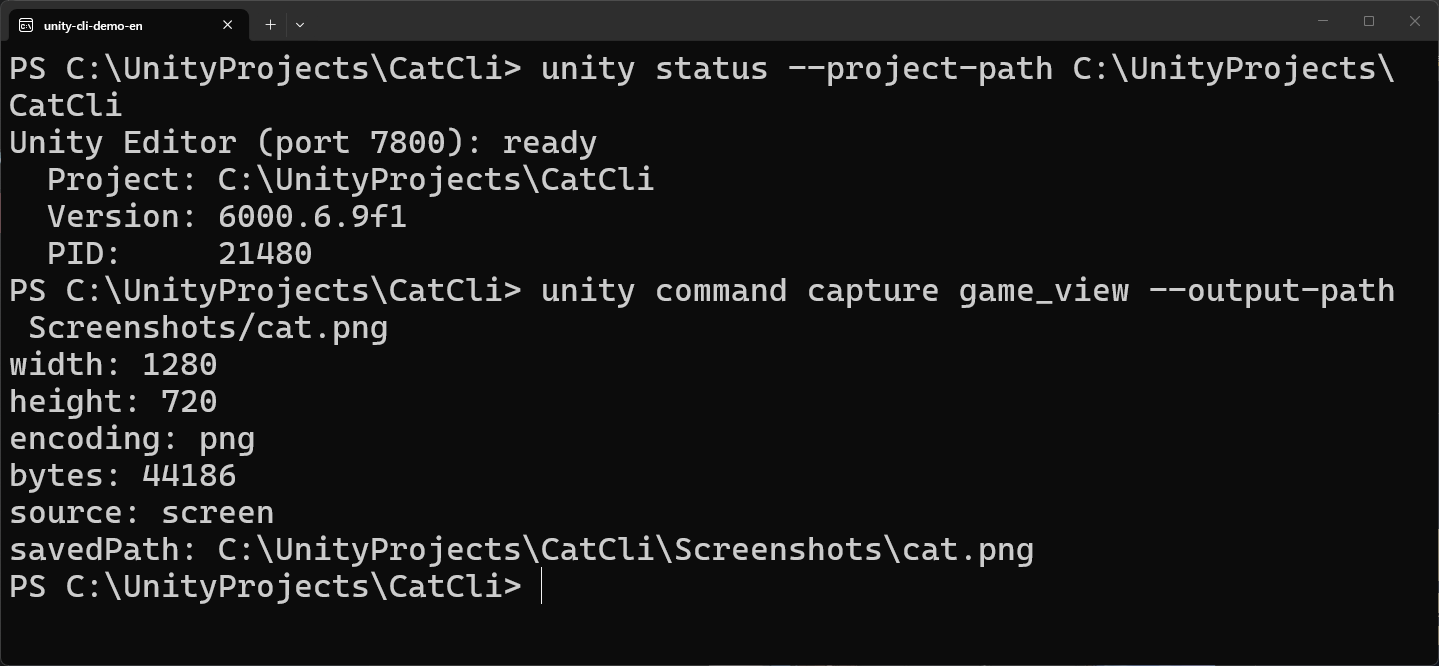
Run unity command with no arguments to list every command group, such as scene, gameobject, script, and capture. Add a group name to list its commands and parameters.
Install the Unity plugin
Once the commands work, install Unity’s official plugin so Claude Code knows how to combine them:
1unity setup claude
You are done when claude plugin list shows unity@claude-plugins-official as enabled. The unity-cli skill in the plugin tells the agent to use unity command, not the MCP server, when it can run terminal commands.
Set up unity mcp
When your client cannot run terminal commands, use unity mcp instead. It is the MCP server built into Unity CLI, and it also drives the Editor through the Pipeline package, so the steps for installing the Pipeline package and checking the connection still apply. Then add it to Claude Code:
1unity mcp configure claude-code
The command runs claude mcp add and adds a server named unity-editor-mcp at user scope, so every project sees it. When it finishes, run claude mcp get unity-editor-mcp and check that the status is Connected:
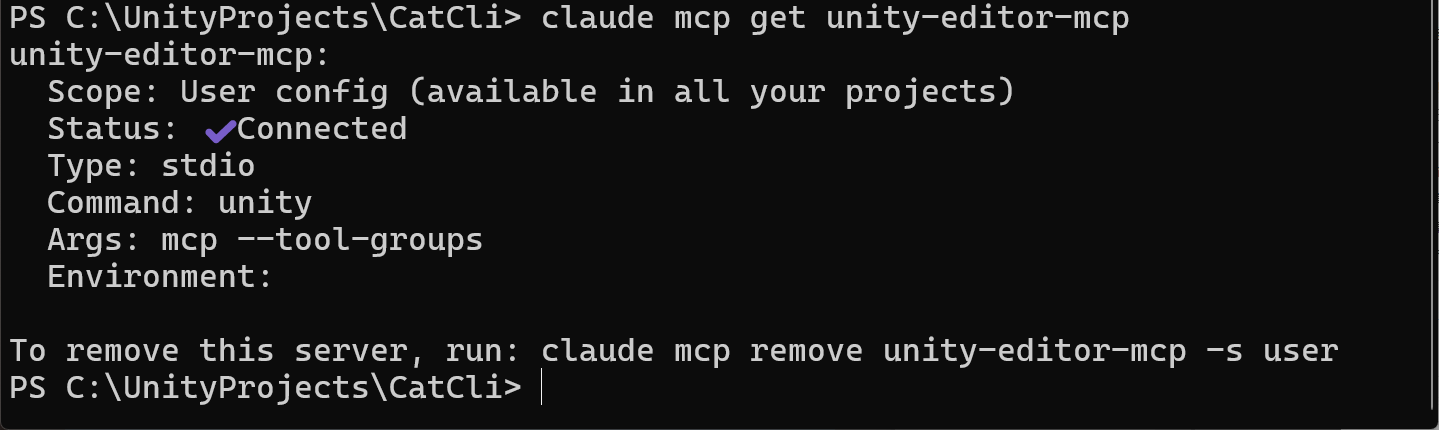
The default --tool-groups option merges each command group into one tool, which cuts the tool count from 199 to 44. If you have several projects open, add --project-path to configure to pick the one to drive. Run unity mcp configure --list for the names of other clients.
If Claude Code also has the Unity plugin installed, the agent may follow the skill and switch to unity command. That happened once in my tests. After I blocked Claude Code from running terminal commands, the agent used only the MCP tools.
Set up MCP for Unity
MCP for Unity is an open-source package maintained by Coplay. It supports Unity 2021.3 and later, and its tool list includes tools that Unity CLI lacks, such as generating images and 3D models and working with ProBuilder. Its MCP server is written in Python, so install Python 3.10 or later and the Python package manager uv first.
Install the package
In Package Manager, click the + button in the top-left corner, choose Install package from git URL, enter this URL, and click Install:
1https://github.com/CoplayDev/unity-mcp.git?path=/MCPForUnity#v10.3.0
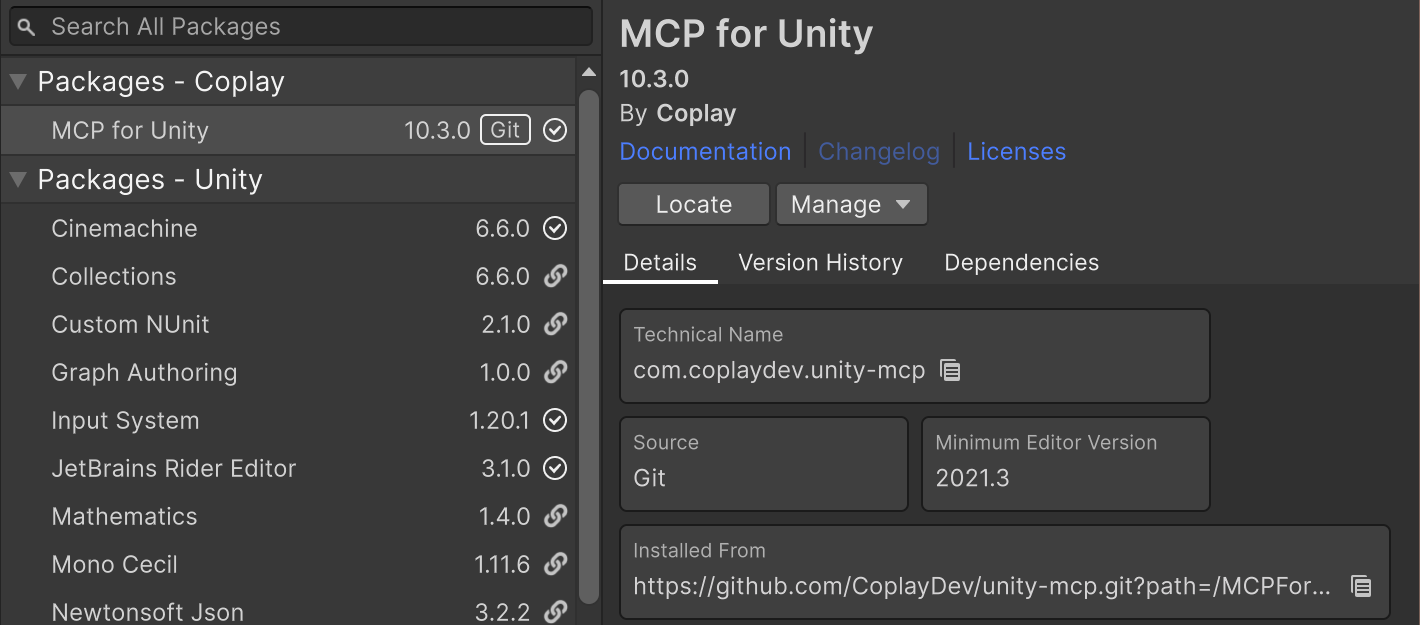
The #v10.3.0 at the end pins this version. Without the version tag, Package Manager installs the latest version from the main branch. After the install finishes, MCP for Unity appears in the list with Git as its source:
Configure Claude Code
After the package installs, the MCP Setup window opens on its own and first checks for Python, uv, and Git:
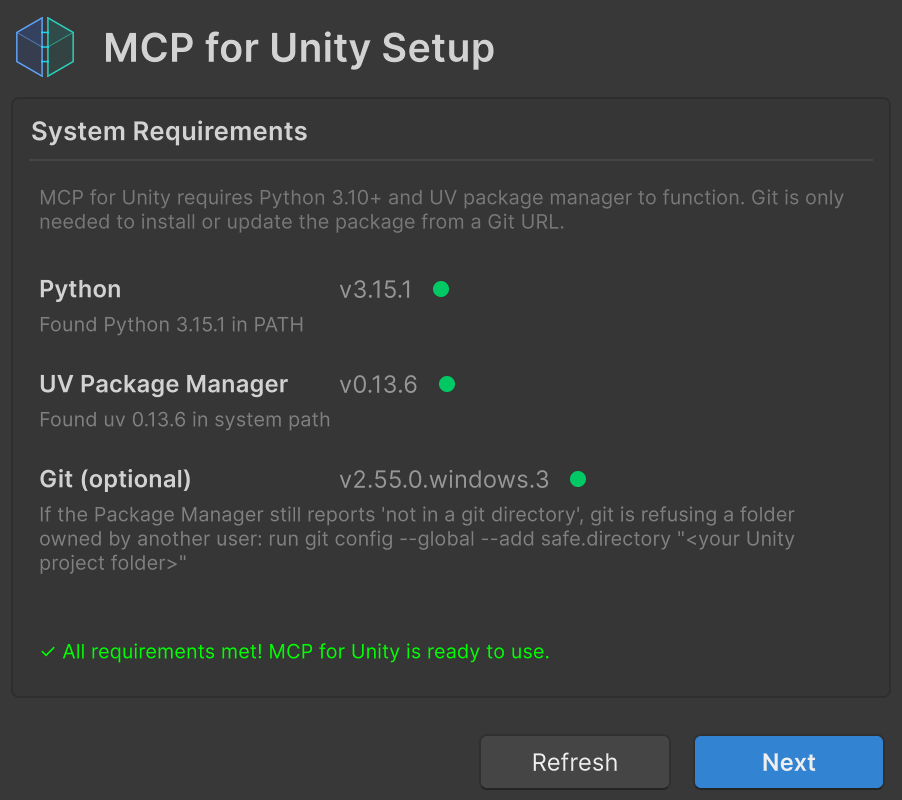
Click Next. The window lists the MCP clients it found on your computer, all selected by default. To connect only Claude Code, clear the other check boxes and click Configure Selected:
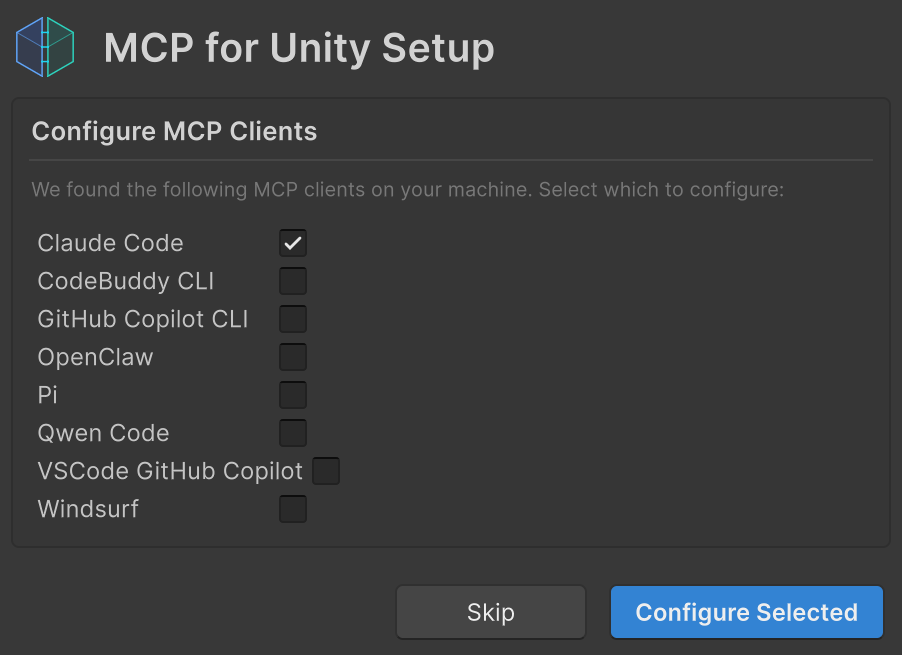
MCP for Unity adds the Claude Code entry for this project only, at local scope. Other projects are not affected. The entry connects to http://127.0.0.1:8080/mcp.
Start the server
The server is not running when setup finishes. Claude Code cannot connect, and claude mcp list shows the UnityMCP connection as refused (ECONNREFUSED). Open Window > MCP for Unity > Toggle MCP Window from the menu and click Start Server. The first time, the window asks whether to start the server in the background. Click Start. When the window shows Session Active, the server is connected to the Editor:
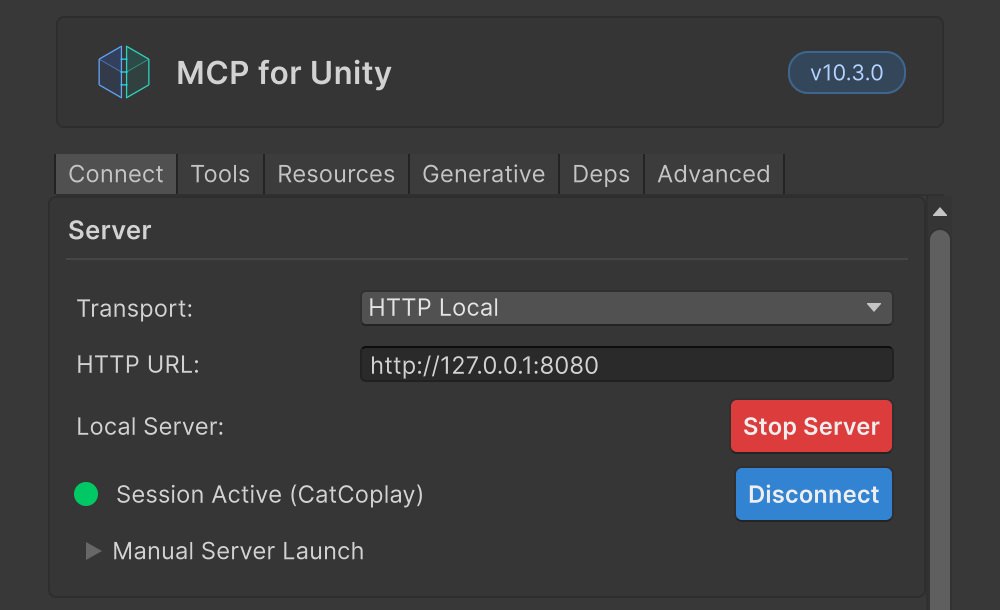
Now run claude mcp list in the project folder. UnityMCP shows Connected. The server does not start on its own after you reopen the Editor, so click Start Server again each time.
Let Claude Code drive the Editor
After you set up Unity CLI or MCP for Unity, keep the Editor open, start Claude Code in the project folder, and tell it what to do and what to check when it finishes:
1The project C:\UnityProjects\CatCli is open in the Unity Editor. Work in this running Editor:
2create the scene Assets/Scenes/Cat.unity, build a sitting orange cat from the built-in primitive shapes,
3and write a script that spins the cat around the Y axis at 45 degrees per second, then attach it.
4After compilation finishes and the Console shows no errors,
5enter Play Mode, take a Game view screenshot, then exit Play Mode and save the scene.
With unity command, Claude Code first loads the unity-cli skill and creates the scene with unity command scene create. It then runs C# several times with unity command script eval to create the objects and the material. After the script compiles, Claude Code enters Play Mode, takes a screenshot with capture game_view, and reads the image to confirm the cat is on screen:
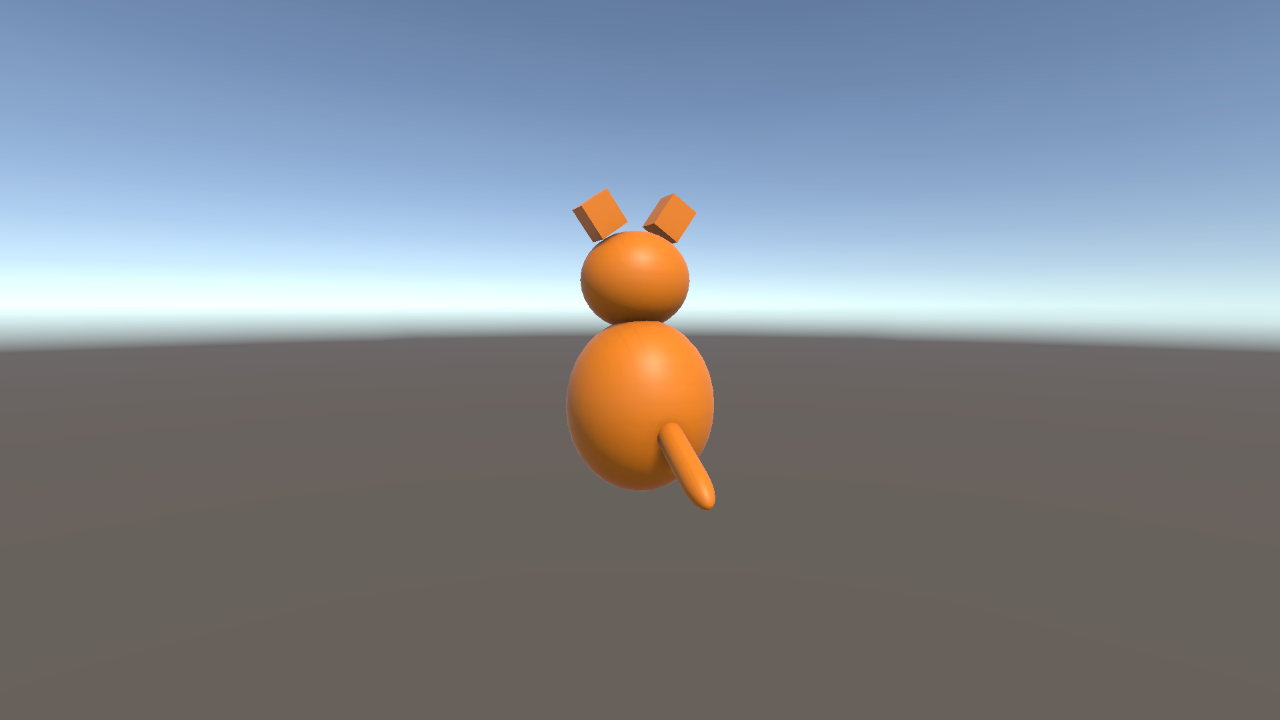
With unity mcp or MCP for Unity, Claude Code calls MCP tools to create the scene, write the script, and take the screenshot. It also reads the screenshot afterward to confirm the cat is on screen.
Troubleshooting
| Symptom | Cause | Fix |
|---|---|---|
The Console shows Pipeline: Descriptor ... was not written every 15 seconds, followed by icacls could not restrict |
The project is on a ReFS Dev Drive, and the permissions on the port file cannot be changed | Move the project to an NTFS drive |
unity command reports that it cannot find a Pipeline instance for the project |
The Editor is still loading or recompiling scripts | Run unity status --until-ready and wait for the Editor to be ready |
unity mcp configure reports already exists in user config |
An entry with the same name already exists | Run claude mcp remove --scope user unity-editor-mcp, then configure again |
A call through unity mcp fails and the Console shows ObjectDisposedException |
Recompiling scripts triggers a domain reload, which drops the connection | The call succeeded when the agent retried, and the error did not affect the project |
An MCP for Unity screenshot fails with resolves outside the Unity project root |
The screenshot path points outside the project folder | Save it inside the project folder, for example Assets/Screenshots |
Test notes
Every test used the prompt from “Let Claude Code drive the Editor”, plus a request to save the screenshot to a given path and report whether each step succeeded. I ran unity mcp three times and the other two setups twice each. Before every run, I reset the project to just the default scene, then ran claude -p with the Sonnet model and allowed only the tools that setup needs:
unity command: the Unity plugin enabled,unitycommands allowed, and no MCP server connected.unity mcp: the Unity plugin enabled, onlyunity mcp --tool-groupsconnected, and terminal commands blocked.- MCP for Unity: only the MCP for Unity server connected.
The turns, time, and cost in the table come from the claude -p result records. A turn is one round trip in which Claude Code sends a request, runs a tool, and reads the result. Extra tokens at startup is the difference between the input tokens of the first request with and without the setup connected, when the prompt just asks Claude Code to reply “OK”. In each cell, the numbers are listed in run order:
| Item | unity command |
unity mcp |
MCP for Unity |
|---|---|---|---|
| Loaded at startup | Unity plugin | 44 tools | 49 tools |
| Extra tokens at startup | 1,707 | 965 | 2,344 |
| Turns | 13, 13 | 44, 34, 24 | 29, 20 |
| Time to finish | 100, 81 seconds | 83, 89, 54 seconds | 92, 87 seconds |
| Cost | 0.35, 0.33 USD | 0.35, 0.59, 0.36 USD | 0.34, 0.28 USD |
| Where screenshots can go | Inside or outside the project | Inside or outside the project | Only inside the project folder |
| While scripts recompile | No errors | A call failed in all three runs, and the agent finished after retrying | No errors |
I checked every screenshot, and each one showed the cat. By default, Claude Code loads only the names of MCP tools and reads the full definitions when it needs them, so connecting an MCP server adds few tokens at startup. With ENABLE_TOOL_SEARCH=false, Claude Code loads every tool definition up front, and startup grows by 21,863 tokens for unity mcp and 45,454 tokens for MCP for Unity.
Summary
If you used the AI Assistant package’s MCP, remove the old entry first, then choose a setup based on whether your client can run terminal commands and which Unity version your project uses. With unity command, Claude Code built the cat and confirmed it with a screenshot within 13 turns in both runs. With unity mcp, recompiling scripts dropped the connection, and Claude Code finished only after retrying.
Further reading