Table of contents
A Minecraft Java Edition vanilla server needs only the official server.jar and Java. Install Java 25, download server.jar, create start.bat, change eula.txt to true, start the server again until you see Done, and finally add players to the whitelist so they can connect. I set up version 26.3, released in September 2026, on Windows once and recorded the output and screen of every step.
Install Java 25
Minecraft needs Java 25 from 26.1. If your computer only has an older Java, running server.jar fails right away. This is the output of starting the 26.3 server with Java 21. Java prints the first line in your system language, so it may read differently on your computer:
1Error: LinkageError occurred while loading main class net.minecraft.bundler.Main
2	java.lang.UnsupportedClassVersionError: net/minecraft/bundler/Main has been compiled by a more recent version of the Java Runtime (class file version 69.0), this version of the Java Runtime only recognizes class file versions up to 65.0
class file version 69.0 corresponds to Java 25 and 65.0 corresponds to Java 21, so this error means your Java version is too old. You can install Java 25 with WinGet. The steps are in Install OpenJDK with WinGet. After it is installed, run java --version in Command Prompt. When the first line starts with openjdk 25, you can continue.
Download server.jar and create start.bat
Download the latest server.jar from the official Minecraft server download page and put it in a new, empty folder. When the server starts, it creates the world and its configuration files in the same folder.
Next, create start.bat in that folder. If you create it in Notepad, set “Save as type” to “All files” so the file name is start.bat. The file contains a single line:
1java -Xms1G -Xmx4G -jar server.jar nogui
-Xms1G and -Xmx4G are the memory the server starts with and the most it can use, and you can adjust them to the memory of your computer. nogui makes the server run in the command line only. Without it, the server opens its own graphical window.
Agree to the EULA and start the server
Double-click start.bat. The first start generates eula.txt, server.properties and a few folders, and then stops. The last line in the command line is:
1[ServerMain/INFO]: You need to agree to the EULA in order to run the server. Go to eula.txt for more info.
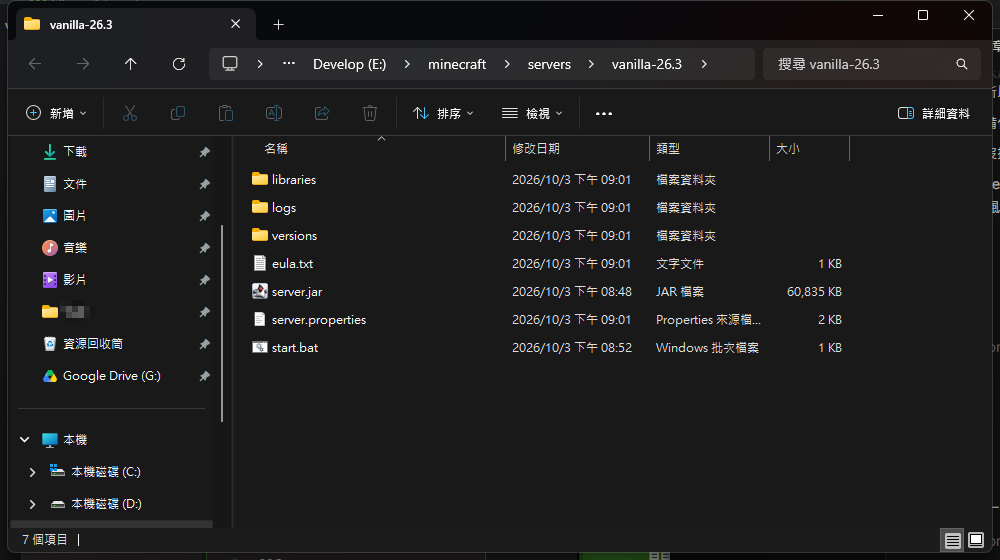
The screenshot below shows the server folder after the first start. The File Explorer window uses a Traditional Chinese interface, but the file and folder names are the same as on an English version of Windows:
eula.txt in Notepad, read the Minecraft EULA, and if you agree, change eula=false to eula=true and save the file:
1#By changing the setting below to TRUE you are indicating your agreement to our EULA (https://aka.ms/MinecraftEULA).
2eula=true
Double-click start.bat once more. The server creates the world and starts listening on port 25565, and Done means startup is complete. If Windows Firewall shows a prompt at this point, allow Java on private networks so that other computers on your local network can connect.
1[Server thread/INFO]: Starting minecraft server version 26.3
2[Server thread/INFO]: Starting Minecraft server on *:25565
3[Server thread/INFO]: Preparing level "world"
4[Server thread/INFO]: Done (1.804s)! For help, type "help"
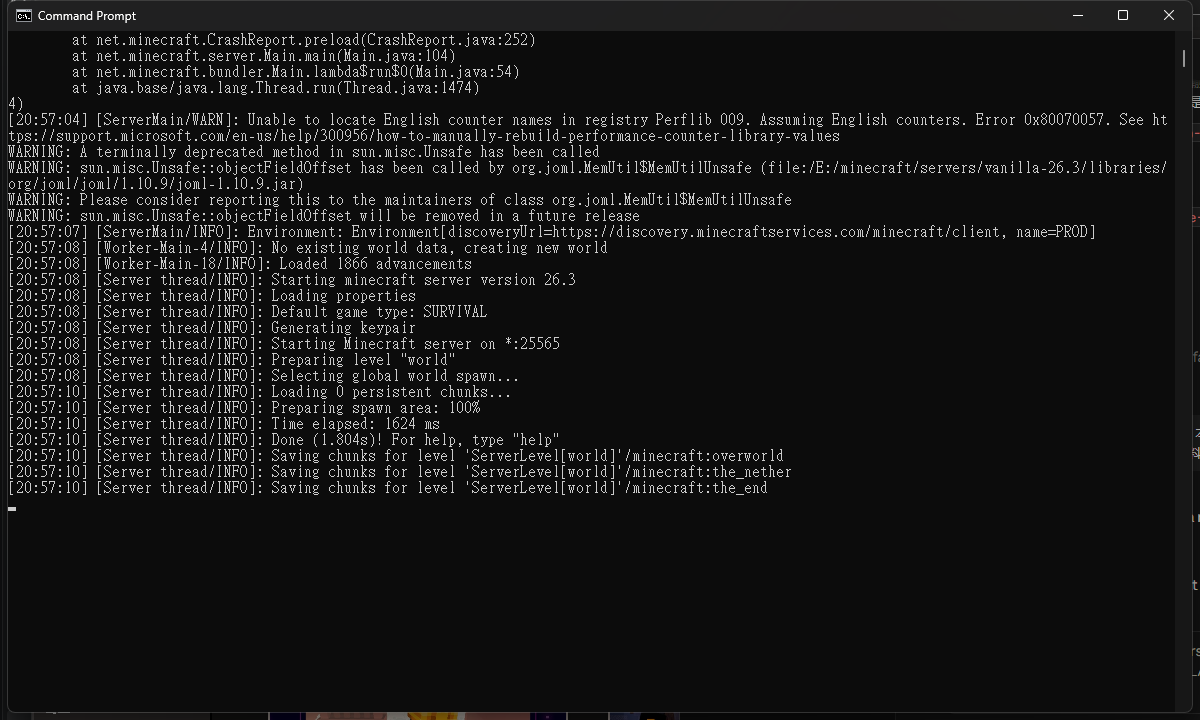
WARNING messages and a Perflib counter error appeared before Done, and the server still finished starting normally.
To shut the server down, type stop in this window and press Enter. The server saves first and then exits. Closing the window directly can lose recent progress.
Connect to the server
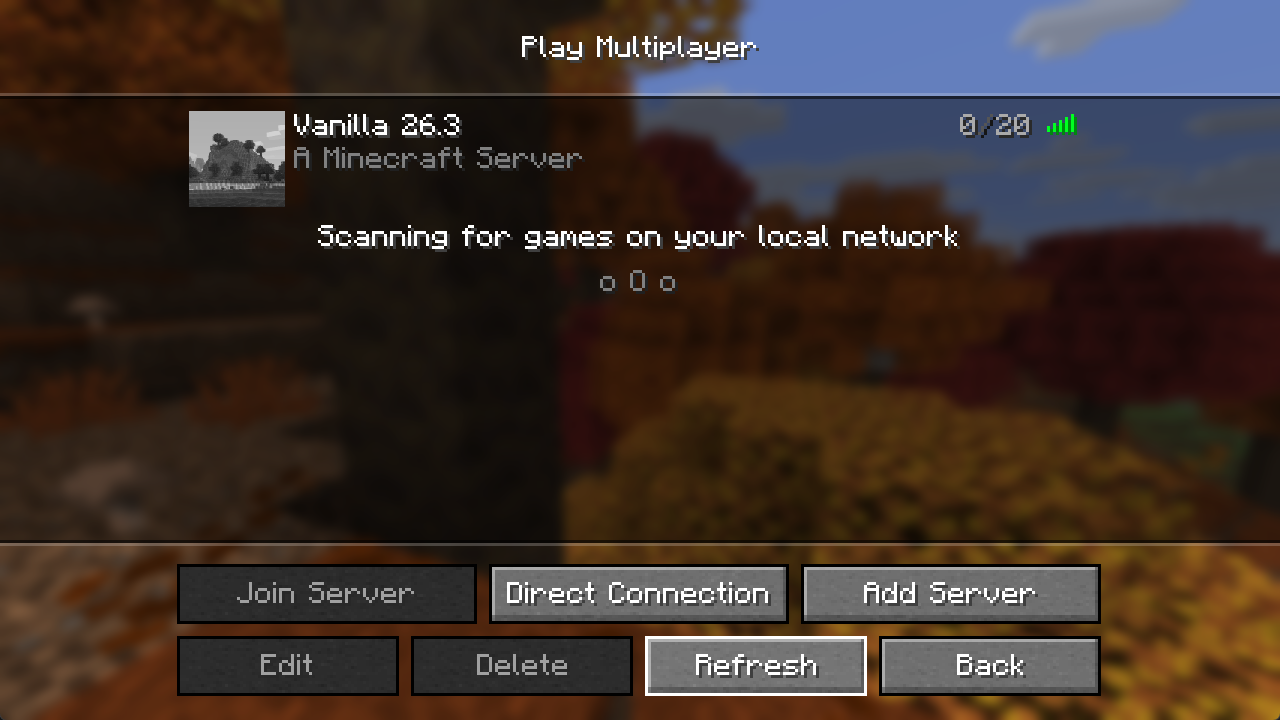
Open Minecraft Java Edition, go to “Multiplayer” and click “Add Server”. Enter the server address that matches the computer you connect from:
- The same computer:
localhost. - Another computer on the same local network: the IPv4 address of the server computer. Run
ipconfigin Command Prompt on the server computer to see it, for example192.168.1.20.
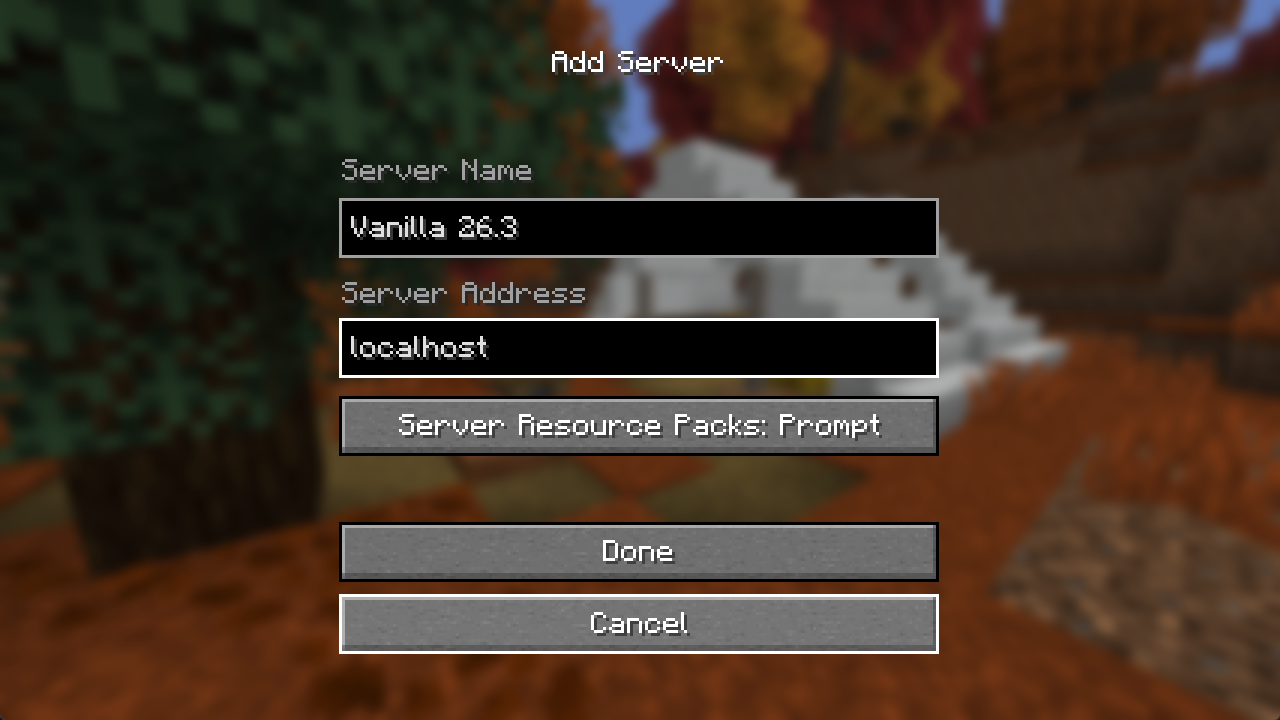
0/20. That means the game has found the server.
Add players to the whitelist
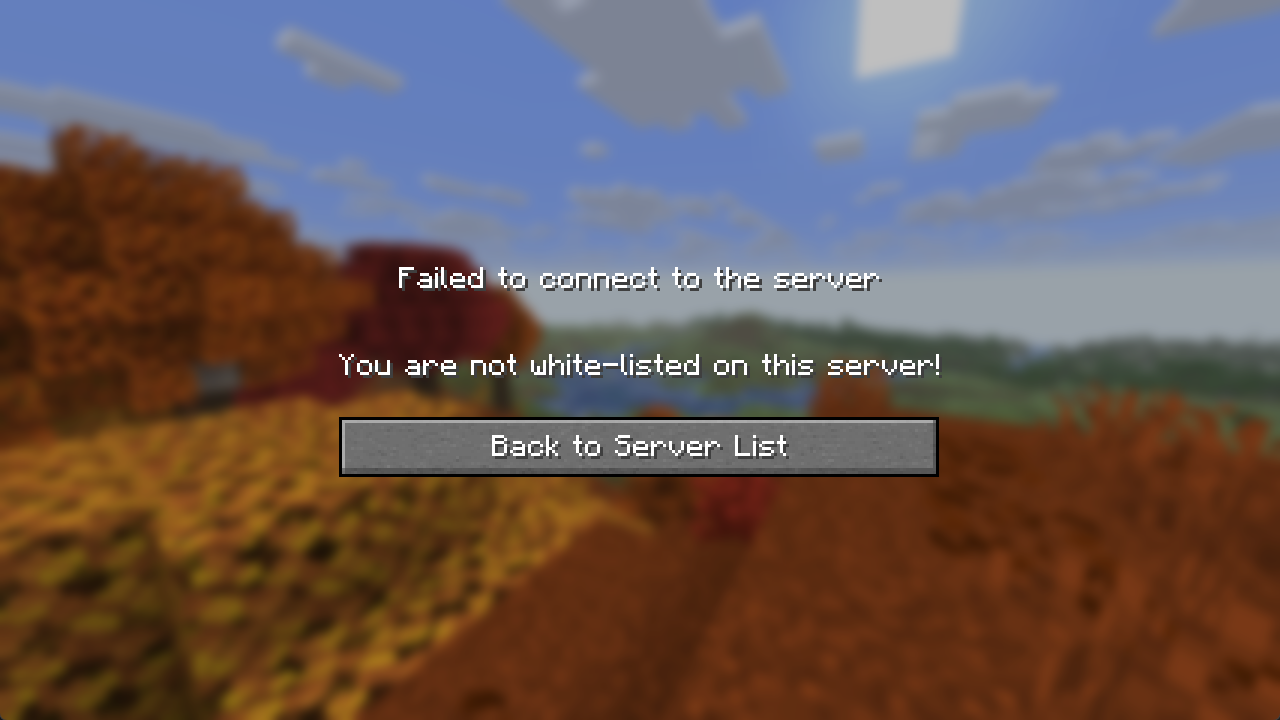
The server.properties file that 26.3 generates on the first start has white-list=true by default, so only players on the whitelist can enter. If you join directly, you are turned away. The screen shows “You are not white-listed on this server!”, and the server window logs a matching line:
1[Server thread/INFO]: Disconnecting PlayerName (/127.0.0.1:50370): You are not white-listed on this server!
Added PlayerName to the whitelist, you are done:
1whitelist add PlayerName
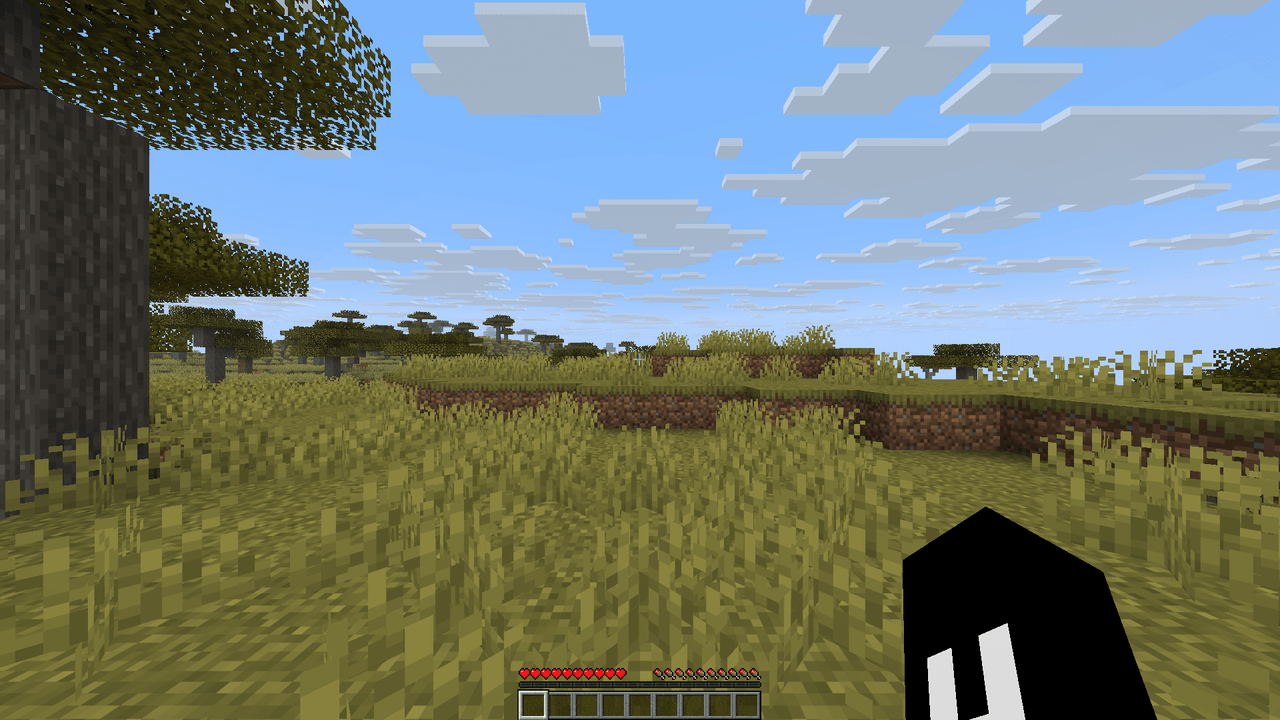
Go back to the game and join again, and you enter the server’s world.
You can also run commands in the server window, such as turning on keep_inventory or changing the time. Type them without the leading slash. The syntax is in the Minecraft commands list.
Summary
Done in the server window means startup is complete. Version 26.3 turns the whitelist on by default, so players must be added with whitelist add before they connect.